


The ability to add audio to video is a very important part of the video making process whether you’re a YouTuber or content creator at work.
This isn’t just for adding background music, but also dialogue if the voice was recorded separately, or maybe even some sound effects here and there.
Importing and editing multiple audio for your video content can be done without an advanced background in video editing/production, and we’ll explain how!

Which program/software should you use?
First you’re going to need a decent video and audio editing software to import and edit the imported audio for your video.
There are many free options out there such as iMovie if you’re on Mac, but we’ll be using Adobe Premiere since it has both video and audio software tools.
Adobe Premiere is a great video editing tool for YouTube as it shares a very similar architecture and user interface with many other video editing programs so most of our step-by-step guide will apply to whichever software you choose to use.
1. Open your video editing software
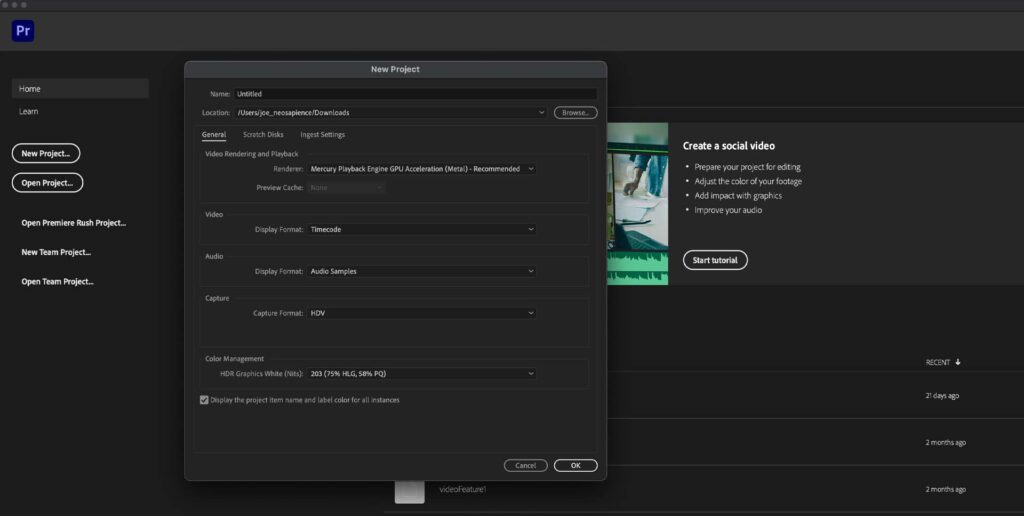
Click on New Project on the left and a small window will appear.
Type the name of your project next to Name as well as where you would like to save it on your computer or laptop by clicking Browse next to Location.
Then hit OK.
2. Import your video into the project
You’ll be taken to the video project menu where all the magic happens.
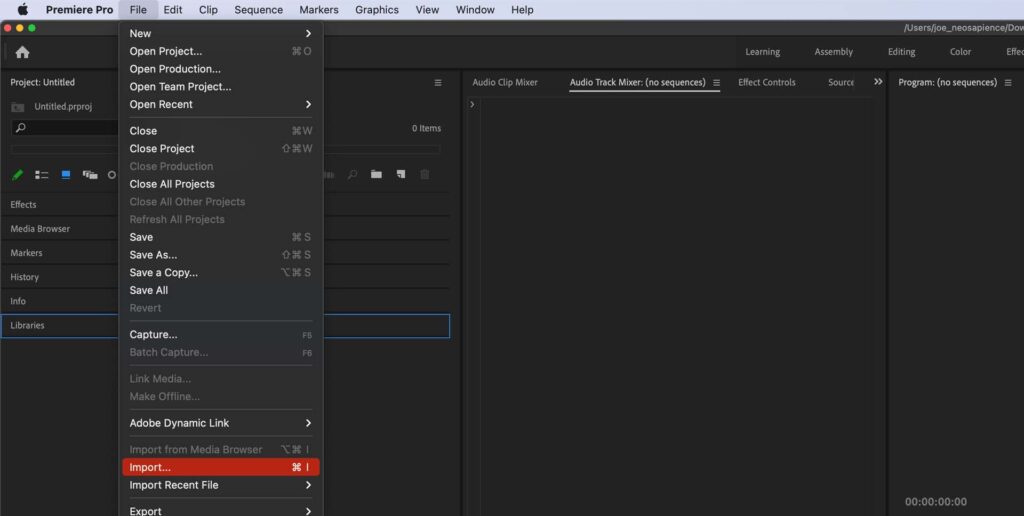
To get our video into the project, go to File in the top left, and then Import…
Find your video in your document browser/explorer and hit Import.
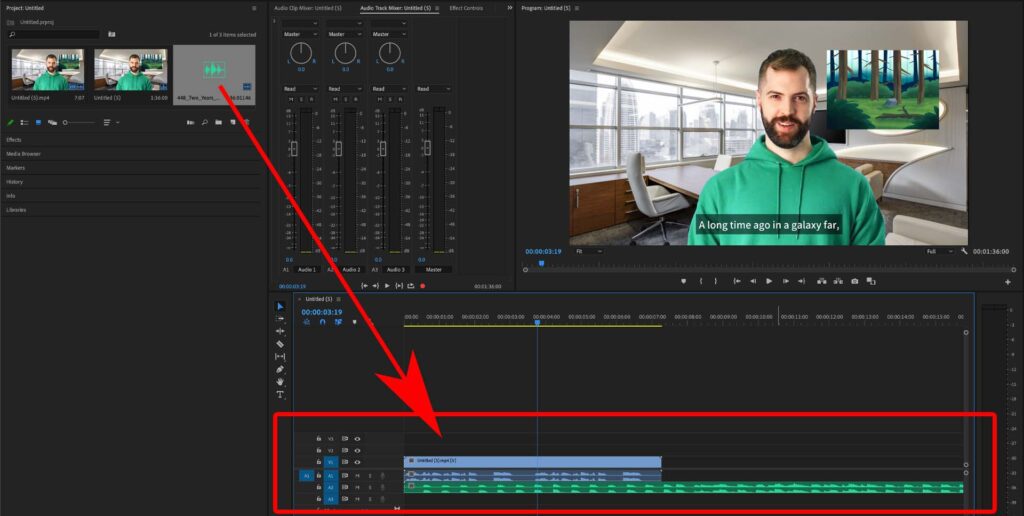
With your video file imported, click and drag it into the timeline below at the bottom so that we can begin the process of adding the audio to the video.
Now you’ll see a colored bar containing the name of your video file in the timeline.
If your video contains audio already like mine then you’ll get a secondary colored bar nested below the video bar in the audio channel of the timeline.
You’ll know it’s an audio bar because of the sound waveform you can see inside.
3. Import your audio into the project
To start working with our audio with the video, we also need to import our audio into our video project.
If you need some background music for your video then there are a few free options such as YouTube audio library or other royalty-free sites online.
Just like we did before, go to File in the top left, and then Import…
Look for your audio in your document browser/explorer and hit Import.
Again, click and drag the audio file into the timeline at the bottom and you’ll get a different colored bar containing the audio file name that will automatically sit under your video “bar” in the audio channel.
4. Edit your audio positioning
Now we have both our video and audio files in the project together so technically you’ve just added audio to video.
But, you’ll probably need to edit when it starts and stops in relation to the timeline of your video, especially if it’s SFX audio.
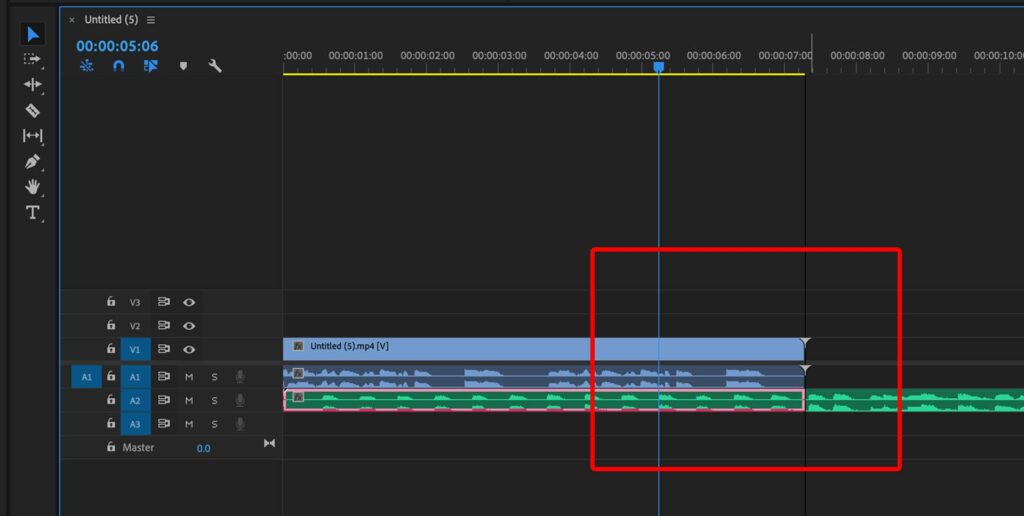
The easiest way to do this is to drag the audio colored bar to the area on the video timeline where you want it to play.
You can shorten or lengthen (if the audio file itself is long enough) the audio however much you need by clicking on the edges and dragging them across.
You can also cut the audio in between where you’re positioned on the timeline by hitting ⌘ + K on Mac, or Ctrl + K if you’re using Windows.
5. Editing your audio volume levels
One important thing that a lot of guides don’t tell you is the importance of audio volume, specifically, audio volume at the correct levels so that they don’t all overlap with each other.
This is especially important if you have background music, plus other sound effects in your video.
If you look at your audio, you will see them in different audio channels titled A1, A2, A3, etc.
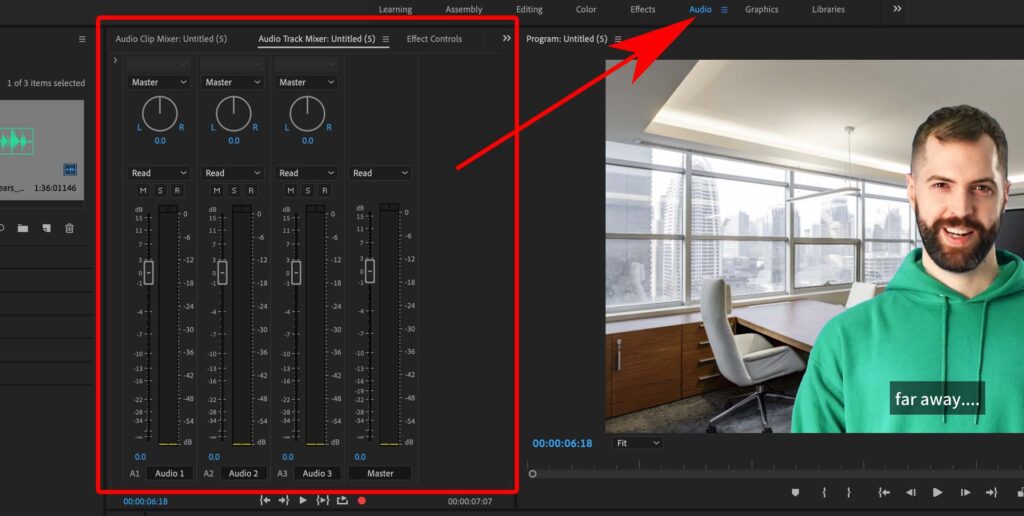
Now, click on Audio inbetween Effects and Graphics at the very top to rearrange your work space into the audio format.
Now click on the Audio Track Mixer tab and you should see the different audio channels.
You can adjust the volume in decibels (dB) by sliding the control up or down, or by manually entering in the dB number.
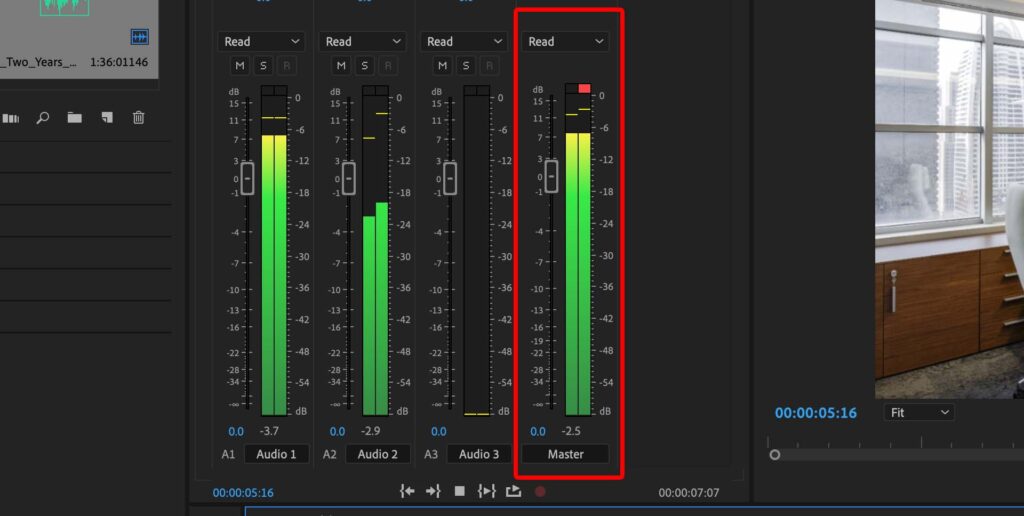
One rule of thumb, the overall audio of your entire video should never be less than -9 dB to avoid damaging your ears or your audience’s ears.
You can check the overall volume in the Master audio channel which you can see in the image above. The volume level went to -2.5 dB which is way too high!
For me, I usually like to keep my audio decibel levels like this:
- Dialogue, spoken audio: -5 dB to -6 dB
- Sound effects (SFX): -8 dB to -12 dB
- Background music: -15 dB to -20 dB
There are some videos where the SFX needs to be louder than the spoken audio.
In this case, you make can the necessary adjustments as long as the overall audio doesn’t creep past -9 dB.
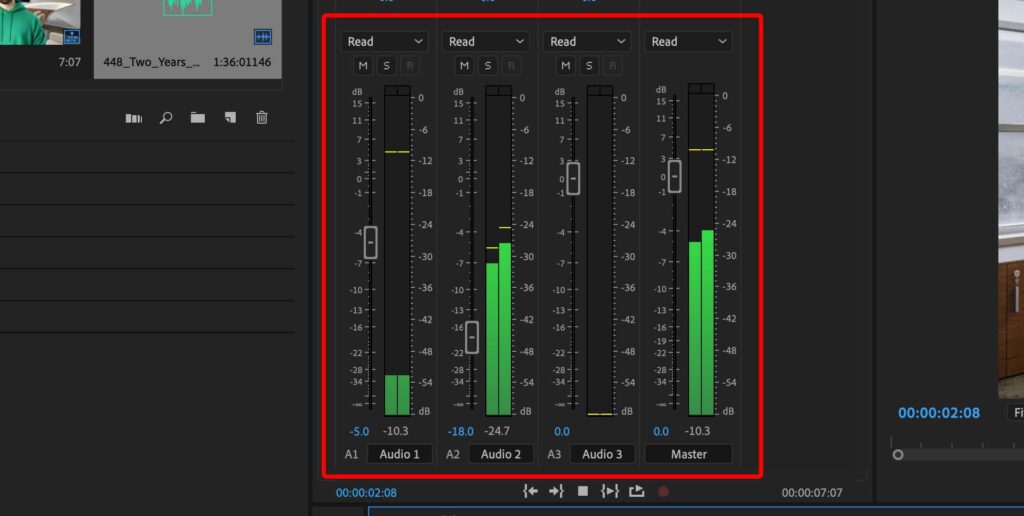
As you can see in the image above, I have my dialogue audio (A1/Audio 1) at -6 dB, and my background music audio (A2/Audio 2) at -18 dB.
Because of this, the overall audio volume level of my video never goes above -9 dB.
And, the audio of my actor talking is much louder than the background music so that my audience can understand what is being said more clearly and easily.
Although not necessary, I’ve added subtitles to my video to make it even easier to understand. We’ve also written a guide on how to add subtitles to video too!
6. Export your video with audio
Once you’ve added in your audio, trimmed it, edited it, adjusted the volume levels, we can export the video!
Go the File at the top, then go to Export and then Media…
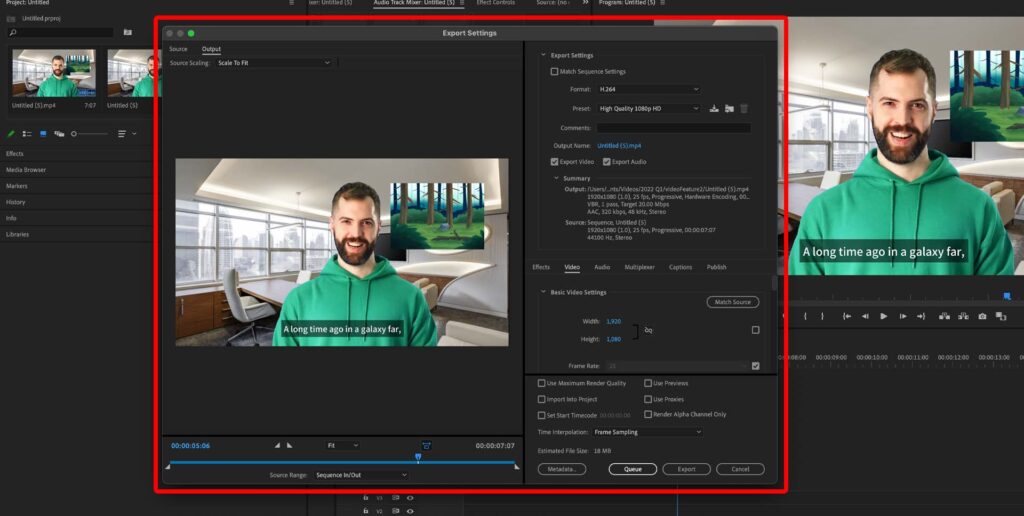
This will bring up the video Export Settings menu.
We’ll save the complex export settings guide for another article later, so for now, make sure that your Format is H.264 and your Preset is High Quality 1080p HD.
This will make sure that your video renders at the standard quality necessary for both enjoyment and any online platform where you want to upload your video.
Finally, go to Output Name to name your video and select where you want to save it on your desktop device, and then hit Export at the bottom to render your video!