


It’s always very gratifying when an experienced YouTuber breaks up their videos into different sections to make finding the information you want much easier. They allow you to preview that section of the video and give context to it. For longer videos this is almost essential, which is why I’ll show you how to add chapters to YouTube videos.
That is what they’re called: YouTube chapters. Sometimes creators include specific timestamps in the descriptions of the videos or in a pinned comment.
However a much smoother and well-edited video will include chapters to polish the final product.
Adding YouTube chapters

You’ll first need access to Advanced features which you can get from verifying your phone number and having a sufficient channel history. That consists of having prior channel activity and prior Google account activity.
- Go on YouTube Studio and under Content select the video you want to edit
- In the Description box write down the list of timestamps and their titles
- Don’t forget to include the first timestamp at 00:00
- And you’ll need at least three different sections to add chapters
- Save it
How to add automatic YouTube chapters
There are these too! Instead of manually putting in the timestamps, you can have it be done for you.
- Repeat step 1 and scroll to the bottom to find Show more
- Find the Automatic chapters section and check the box underneath
- Save it
This will add chapters for every new video, but if you wouldn’t like a certain video to have automatic chapters you can always go back to unselect.
Create videos with Typecast
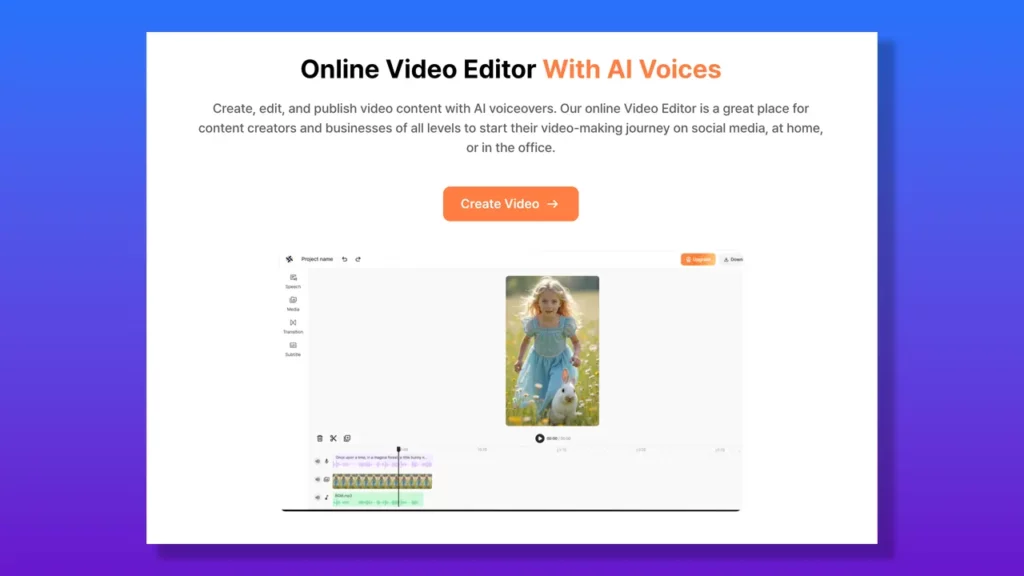
Now that you’ve learned how to add chapters to YouTube videos, you can start learning how to create videos with Typecast’s Online Video Editor.
It’s perfect for people who are just starting out with their channel and want to gain a little experience using an easy tool.
Just switch the format to landscape and let your creativity flow free! It offers quick features like subtitles and transitions and makes it effortless to edit the audio exactly how you want to.
It also provides a seamless voice over feature to narrate in the video.
Explore the many voices Typecast has to offer to suit your individual needs for reading your script!
And if you need more guides on best practices when it comes to growing and improve your YouTube channel then you can read our article on how to start a YouTube channel here.