


It’s 2025 and you don’t know how to upload a video onto YouTube!?
Well, that’s alright. It’s a big world and you can’t be expected to know everything. There might be a lot to it, but we’ll explain everything you need to know to learn how to upload a video onto YouTube.
YouTube has been around for 20 years now and the format has changed drastically along with it uploading videos onto the site. For beginners and for those who have never uploaded something onto YouTube before, this guide is for you.
And for those of you who have yet to create a channel completely, then our guide on how to start a YouTube channel here will get you there.
With your video created in hand and ready to upload, let’s get to it, yes?
Getting started
If you don’t have a YouTube channel, now would be the time to create that.
- Log into your account, then you’ll want to visit the YouTube Studio.
- Click on Create with the camera and plus sign icon to go to Upload videos.
- From there you can choose any video file in Finder to upload.
- Just wait a few seconds for a window to pop up and this is where you’ll add the details.
In the details section

This is where you’ll fine-tune and tweak the specifics of your YouTube video and how it’ll appear online.
- Input the title and description.
- A description isn’t strictly necessary, but it’s highly recommended.
- Pick another file from your computer to add a photo as your thumbnail.
- You can also auto-generate a thumbnail using AI.
- Clarify under Audience whether the video is made for kids or not.
- Add too under Age restriction whether you would like a restriction.
Optional: If you hit Show more you can elaborate on paid promotion (if your video contains it), altered content (required to report to YouTube), and more.
Some of the options included features like adding Automatic chapters which you can learn about in our post on how to add chapters to a YouTube video.
You can add tags and other information about your video and even decide if you would allow other people to create Shorts using your content. For the license, you can allow someone embedding your video to another website.
Additionally, there’s a handy-dandy Test and compare feature where you can upload three different pictures and test which thumbnail viewers like best.
After publishing the test will be conducted and YouTube will elect the best-performing thumbnail as the permanent one.
At any point you can see the results or stop the test and depending on different factors like turnout, the test may take up to a few weeks to be completed.
Want to add subtitles?
There’s a few different ways you can go about adding subtitles if you go to Video elements. You can:
- Upload a compatible file with the script after clicking whether you’d want With timing or Without timing (make sure to include time stamps in the script if so).
- Auto-sync by typing or copy and pasting the script and letting the timings be set automatically.
- Type manually by adding in the subtitles as you watch the video.
To delete any of the drafts you’ve made just click the X on the box to go back (if you’ve already saved, if not then just discard any changes) and then press on the three dots of the draft and then Delete.
End screens
The perfect way to end your videos. Also under Video elements you’ll find the option to add an end screen.
- Choose a template or create your own.
- From here you can decide what kind of video you would like to promote or if you’d rather the video suit the viewer and YouTube generate that for you.
- Optionally you can add a playlist, add a link to another website, or promote another channel.
- Below in the timeline you can adjust the bar to control when the different elements of the end screen should appear or add a specific time stamp.
- Clicking the grid icon on the video player will give you the option to align your elements neatly.
Last steps
The checks page will address any Copyright issues YouTube finds with your video. If there are none then you’re free to go (for now, something may come up later so you’re not quite out of the woods yet).
You’re almost there. There’s not much left, just adjusting who has access to your video and when it will go up~
You can choose either private, unlisted, or public in the Visibility section. Schedule when your video will be released.
One very last thing to consider are Premieres. Premieres are watch pages set up to interact with fans before and during the publishing of a video in the form of a live chat. Much like a stream.
Just check Set as Premiere in the Schedule box.
I do believe that is the last of it! For uploading the first video anyway, you only have to do this another hundred times. Remember to engage with your audience after the video is uploaded.
Respond to comments, interact with people on other social media platforms, don’t be a stranger! Build a relationship with your viewers.
But what about shorts?
Yes, yes, it’s not all about just how to upload a video onto YouTube nowadays. There are now Shorts too. When hitting that Create button all you need to do is upload a video under 3 minutes and have a square or vertical aspect ratio.
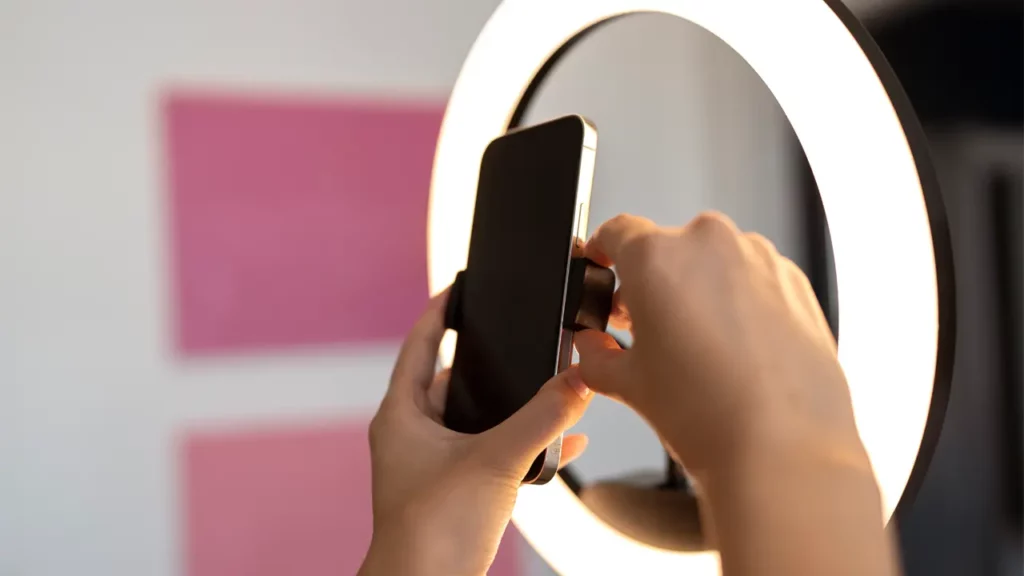
For Shorts it might be better to use your phone to do the whole video taking and publishing process. If you have the YouTube app, you can just hit the Create button on the bottom of the screen and record.
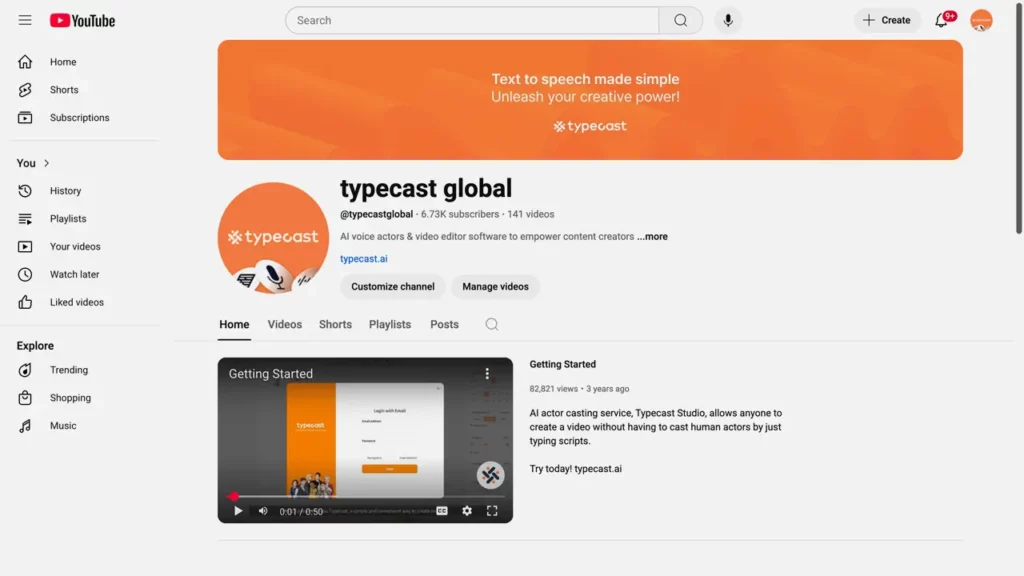
If you would, however, still like to use a computer to edit Shorts videos then I would suggest using Typecast’s online video editor.
It’s a great tool to learn how to edit for YouTube and is even better for more simple content like YouTube Shorts.