





Learning how to add voiceover in DaVinci Resolve helps you turn a video edit into a clearer, more complete production. Whether you recorded narration with a microphone or generated it with a text-to-speech tool, the basic workflow is the same: prepare the audio file, import it into your project, place it on the timeline, synchronize it with the visuals, and mix it with music or other sound.
DaVinci Resolve includes editing and audio-post tools through its Fairlight workspace, which supports recording, track-based mixing, automation, and dialogue-focused audio workflows. Blackmagic Design’s Fairlight overview provides an overview of these audio capabilities.
This walkthrough follows Blackmagic Design’s published instructions for importing and editing narration. Export the Typecast audio to a local file, then import it manually into Resolve. We verified the Typecast export separately; the Resolve steps below are documentation-based, not an independently completed editor test. Official screenshots are vendor examples, and interface details may vary by version.
Before you add a voiceover
A little preparation can prevent timing and mixing problems later. Before opening DaVinci Resolve, make sure you have:
- A completed voiceover audio file saved in a clearly named folder
- A video project or video clips already imported into DaVinci Resolve
- A script or rough edit that shows where narration should begin and end
- Headphones or monitor speakers for checking timing, volume, and unwanted noise
If you still need narration, you can create a text-to-speech voiceover before bringing the resulting audio into your editing project. Export the final approved version rather than a temporary draft, especially if your video timing depends on specific pauses or line lengths.
For a smoother edit, use descriptive filenames such as `product-demo-voiceover-v1.wav` or `intro-narration-final.mp3`. If you revise the script, increment the version number instead of overwriting the previous file. That makes it easier to identify the audio currently used in the timeline.
Export your Typecast voiceover audio
For the narration samples prepared alongside this guide, Typecast Studio exported Apollo audio as a mono, 44.1 kHz, 16-bit PCM WAV. That describes our actual source file, not a completed Resolve compatibility test. Check the options available in your Typecast account and confirm that the chosen format imports correctly into your own project.
For editorial projects, uncompressed audio is often useful when you expect to mix, process, or deliver the project at high quality. A compressed audio file may be practical for quick drafts or projects with limited storage. Whatever format you choose, keep the exported file in the same project folder structure as your video media when possible.
Before export, listen through the full narration and check for:
- Pronunciation issues, especially names, acronyms, and product terms
- Pauses that are too short or too long for the visuals
- Inconsistent pacing between sections
- Script changes that affect screen timing
- A clean beginning and ending without accidental silence or cut-off words
It is easier to correct a script or regenerate a line before building a detailed audio mix in Resolve. If you need help planning the broader video workflow, see this guide to using an AI video editor.
Import the voiceover into DaVinci Resolve
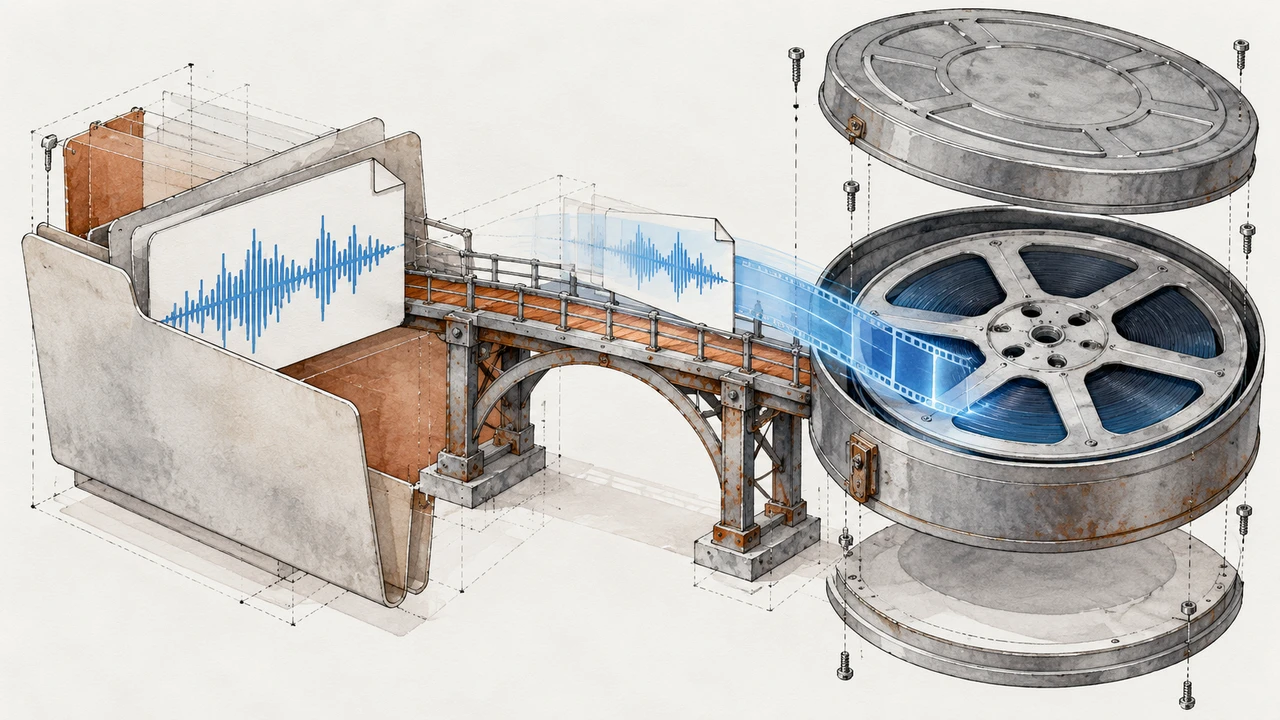
You can import an audio file from the Media page, Edit page, or by adding it through the Media Pool. The precise layout and labels can vary by DaVinci Resolve version and workspace configuration, but the underlying process is consistent.
1. Open the project and locate the Media Pool
Open the DaVinci Resolve project containing your video. Find the Media Pool, where Resolve organizes source clips, audio, images, and timelines.
If you are starting from a new project, import your video clips first and create a timeline that matches your intended sequence. Keeping the voiceover and picture in one organized project makes synchronization easier.
2. Import the exported audio file
Use the Media Pool import command, or drag the audio file from your computer into the Media Pool. Browse to the folder where you saved the exported Typecast narration and select the file.
After importing, play the clip in the source viewer or preview it from the Media Pool if your workspace allows. Confirm that the file is present, has the expected duration, and plays correctly before adding it to the timeline.
Blackmagic Design’s Media overview explains the Media Pool and media-import workflow. Its official training library provides further editing instruction. Use the source viewer to check your imported narration before placing it in the timeline.
3. Add the voiceover to an audio track
Switch to the Edit page and open the timeline. Drag the imported voiceover from the Media Pool onto an empty audio track below your video clips.
If your timeline does not have an available audio track, add one before placing the narration. Keeping dialogue or narration on its own track is a practical organizational choice because it lets you adjust voice levels without changing music, ambient sound, or sound effects.
Place the beginning of the voiceover where the narration should start. For an intro, that may be at the first frame of the video. For a section-based video, place the narration at the beginning of the relevant scene or title card.
Sync the voiceover with your video
Synchronization means matching spoken words, pauses, and emphasis to what viewers see. A voiceover does not always need frame-perfect alignment, but key instructions, product names, and visual demonstrations should occur at the right moment.
Use the timeline waveform
Audio waveforms make it easier to identify speech starts, pauses, and louder phrases. Zoom into the timeline when you need to line up a sentence with a screen recording, graphic, or cut.
Move the audio clip left or right until the narration starts at the intended point. Then preview the sequence from a few seconds before the edit point. Do not judge sync from a single frame alone; watch and listen through the entire transition.
Trim pauses carefully
Generated or recorded narration may include pauses that do not fit the pacing of your video. You can trim the beginning or end of the clip, split it at a natural pause, or move individual sections as needed.
Avoid cutting directly through a spoken word. When shortening pauses, leave enough space for the narration to sound natural. If a sentence still feels rushed after editing, revising and re-exporting the source voiceover may produce a cleaner result than forcing an aggressive timeline edit.
Match narration to visual beats
For tutorials, place the spoken instruction slightly before or as the related action appears on screen. For promotional videos, align major statements with product shots, text overlays, or scene changes.
A useful review method is to play the timeline once without looking at the screen, then once with the sound muted. The first pass helps reveal awkward pacing or unclear speech. The second helps identify visuals that appear too early, too late, or without enough on-screen context.
Mix the voiceover with music and other audio

After synchronization, adjust the mix so the voiceover remains understandable. Resolve’s Fairlight tools are designed for track-based audio editing and mixing, including level control and ducking-oriented workflows. See the Fairlight feature overview for Blackmagic Design’s description of its audio-post environment.
Set a clear voice level
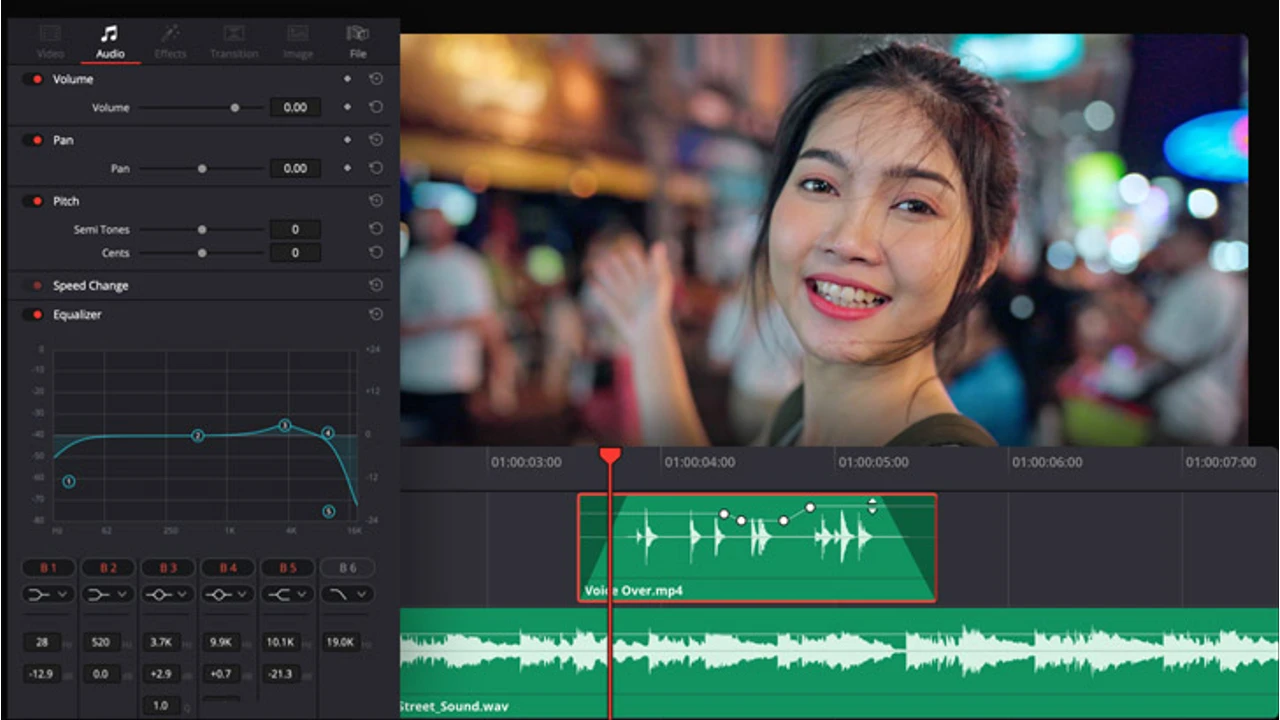
Start by listening to the narration at a comfortable monitoring volume. Adjust the voiceover track so it is intelligible throughout the video without sounding noticeably louder in one section than another.
If the voice level varies because of source material or edits, use clip-level or track-level adjustments. Make changes gradually, then replay transitions between clips to check that the volume does not jump.
Lower background music under speech
Background music can add energy, but it should not compete with narration. Reduce the music level during spoken sections and allow it to rise only when the voiceover pauses or ends.
You can make these changes manually with volume adjustments or use the audio tools available in your Resolve workflow where appropriate. The goal is not to remove music completely; it is to preserve speech clarity.
Check the full sequence
Listen from beginning to end with headphones, then check again on another playback system if possible. Look for:
- Words masked by music or sound effects
- Abrupt level changes between voiceover clips
- Silence at the beginning or end of an audio clip
- Music that starts or stops too suddenly
- Narration that falls out of sync after a video edit
If you change the video edit after mixing, review sync again. Moving a visual clip can affect where the associated narration lands.
Export the finished video

For a straightforward video output, Blackmagic Design documents File > Quick Export. For more control, open the Deliver page, choose a suitable preset and inspect the audio settings, including the selected output bus or tracks. Choose settings for your destination rather than assuming one preset fits every project.
Before rendering, verify that the correct timeline is selected and that all required audio tracks are enabled. Export a short test when you are working with a new preset or delivery specification. Review that test for picture, narration timing, music balance, and audio playback before rendering the final version.
DaVinci Resolve’s official training library includes delivery guidance for users who need more detail on rendering settings and output workflows. Refer to the current DaVinci Resolve training materials for supported, version-specific instruction.
Common voiceover import problems
The audio file will not import
First, confirm that the file is fully downloaded and plays outside DaVinci Resolve. Then check its file format and try importing it through the Media Pool rather than only dragging it into the timeline. If the issue persists, create a new export in a format supported by your current workflow and try again.
The voiceover is out of sync
Check whether the timeline frame rate, video edit, or clip position changed after you placed the narration. Zoom into the timeline, identify the first point where sync begins to drift, and correct that point before making broader changes.
Music is covering the narration
Lower the music track during speech rather than raising the voiceover indefinitely. Excessively increasing narration can make the overall mix harsh or cause level problems later.
The narration sounds too fast or too slow
Start with the source. A revised script, different pacing, or additional pauses in the generated voiceover may solve the problem more naturally than heavy timeline editing. If you must edit in Resolve, make small changes and listen for unnatural speech rhythm.
Final checklist
Before publishing or delivering your video, confirm that:
- The exported Typecast audio is the approved final version
- The voiceover begins at the correct point in the timeline
- Important narration matches the related visual action
- Music and effects do not obscure speech
- No clips are muted, missing, or accidentally duplicated
- The final export plays correctly from start to finish
Adding voiceover in DaVinci Resolve is fundamentally a process of importing, timing, and mixing. By treating Typecast audio as a manually exported source file, organizing it in the Media Pool, and reviewing the final mix carefully, you can build narration that supports the video instead of distracting from it.