


If you’re wondering how to add subtitles in iMovie then this quick and easy guide is for you.
iMovie is a free video editing app for Apple devices like the MacBook that lets you add your own video content, edit said video content, and add various transitions and effects.
It is great for those who are new to video making since the video software itself offers basic surface-level tools for editing videos.
One of those tools is the ability to add text to the video, so we’ll quickly explain how we used that tool to add subtitles for the online narrator in our video.
Adding subtitles in iMovie
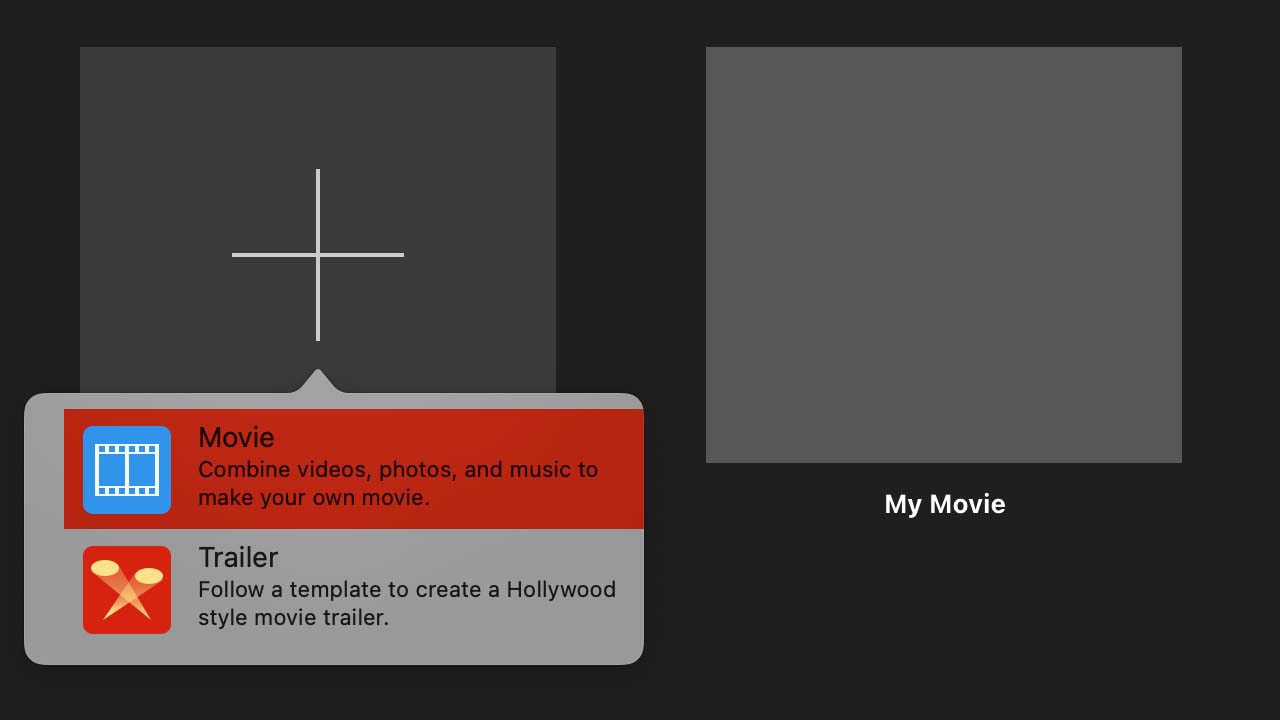
- Open iMovie and click on Create New, and then Movie.
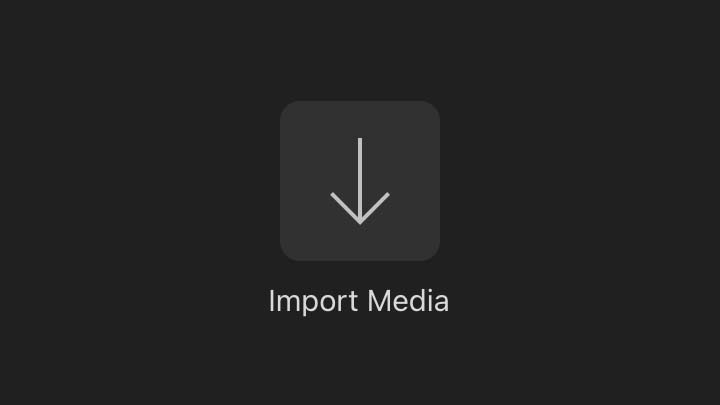
- Now you’re in the editor. Import your video footage into the project by clicking on Import Media. Find your footage in the Finder and click Import Selected.
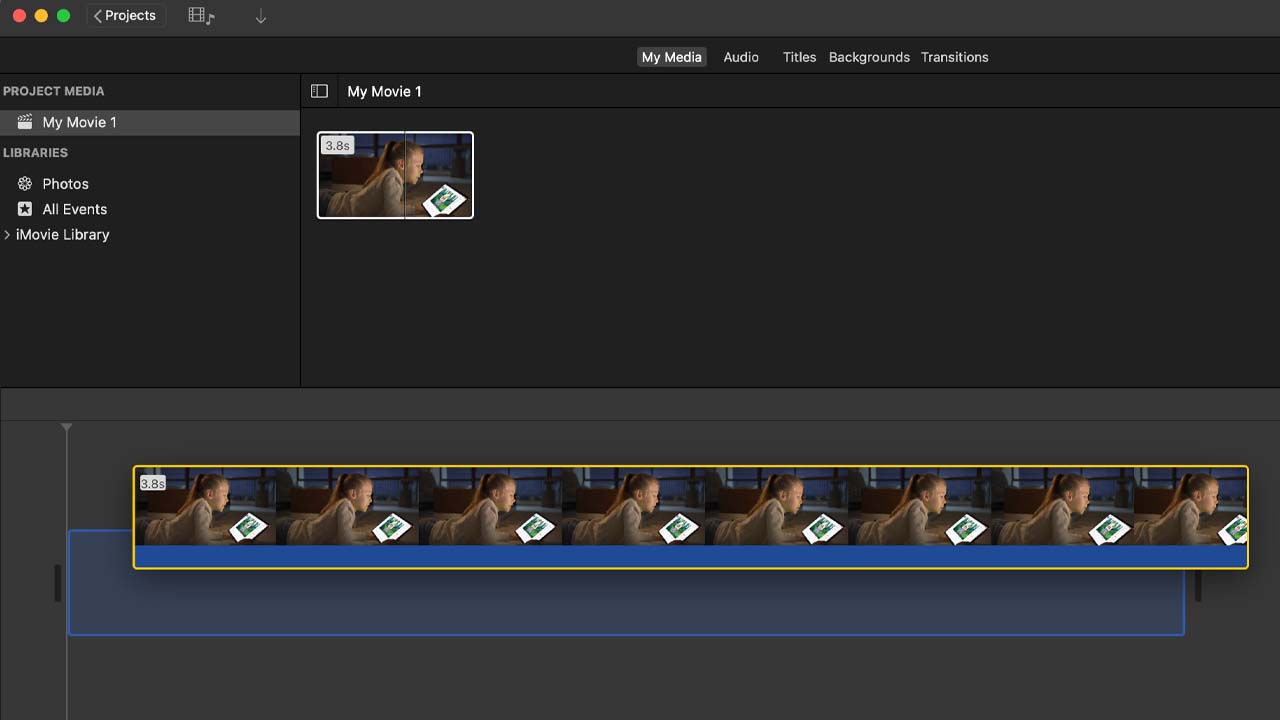
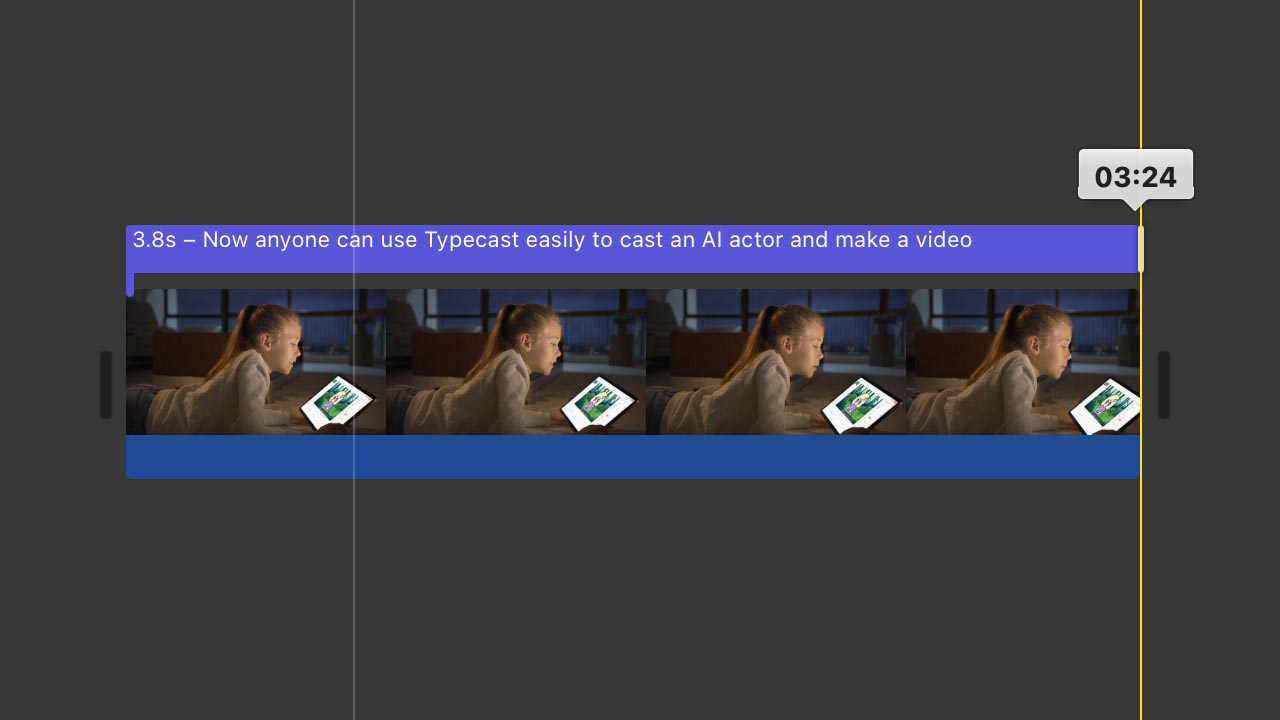
- Click on your imported video in the top left and drag it down into the timeline below.
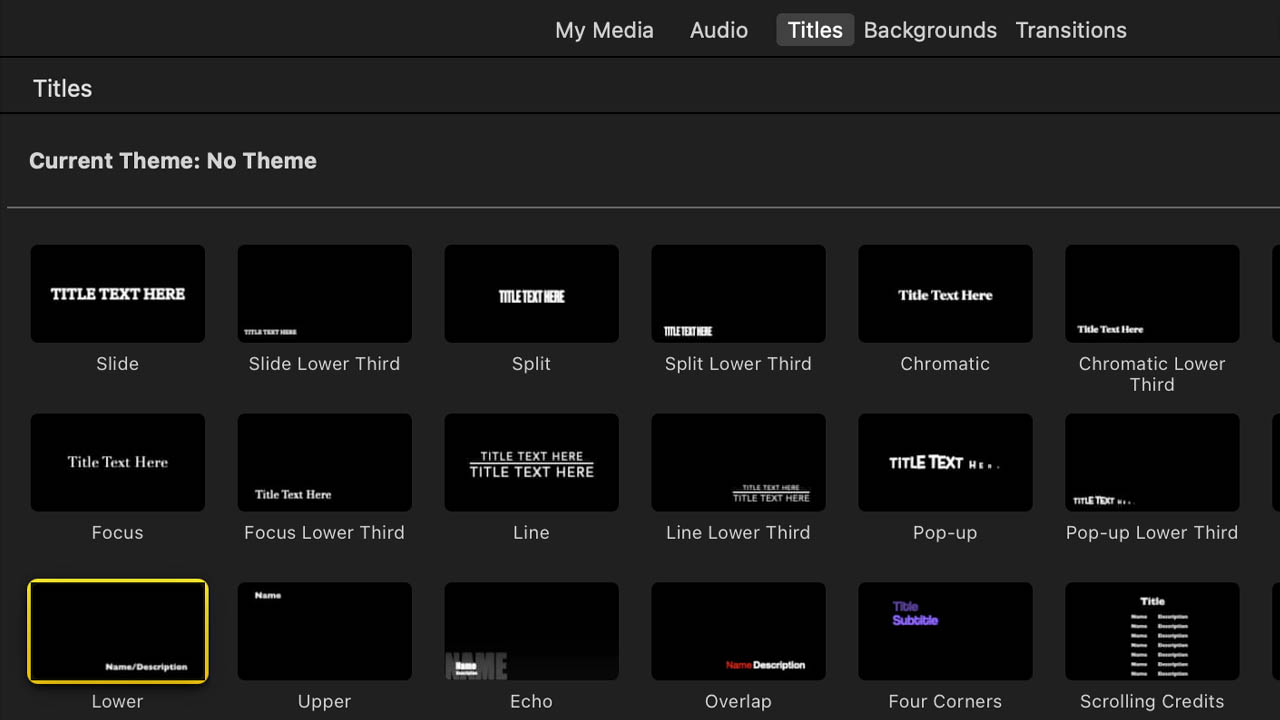
- With your video footage imported we can add the subtitles now! The quickest way to do this is to click on the Titles tab located at the top left.This will open a menu with all the different titles. The one we want is the Lower title so click on that.
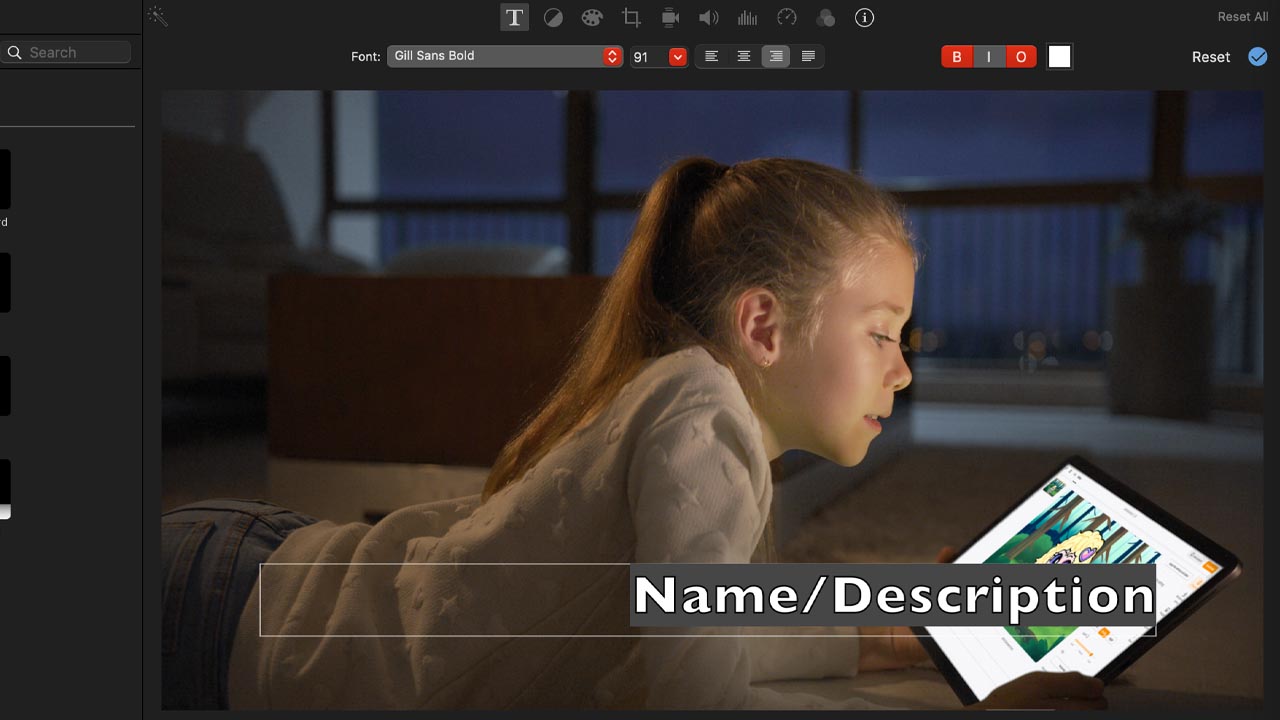
- Now there will be some example text on your video. We can edit this text like we could in a word processor. Just click on the text and highlight it.
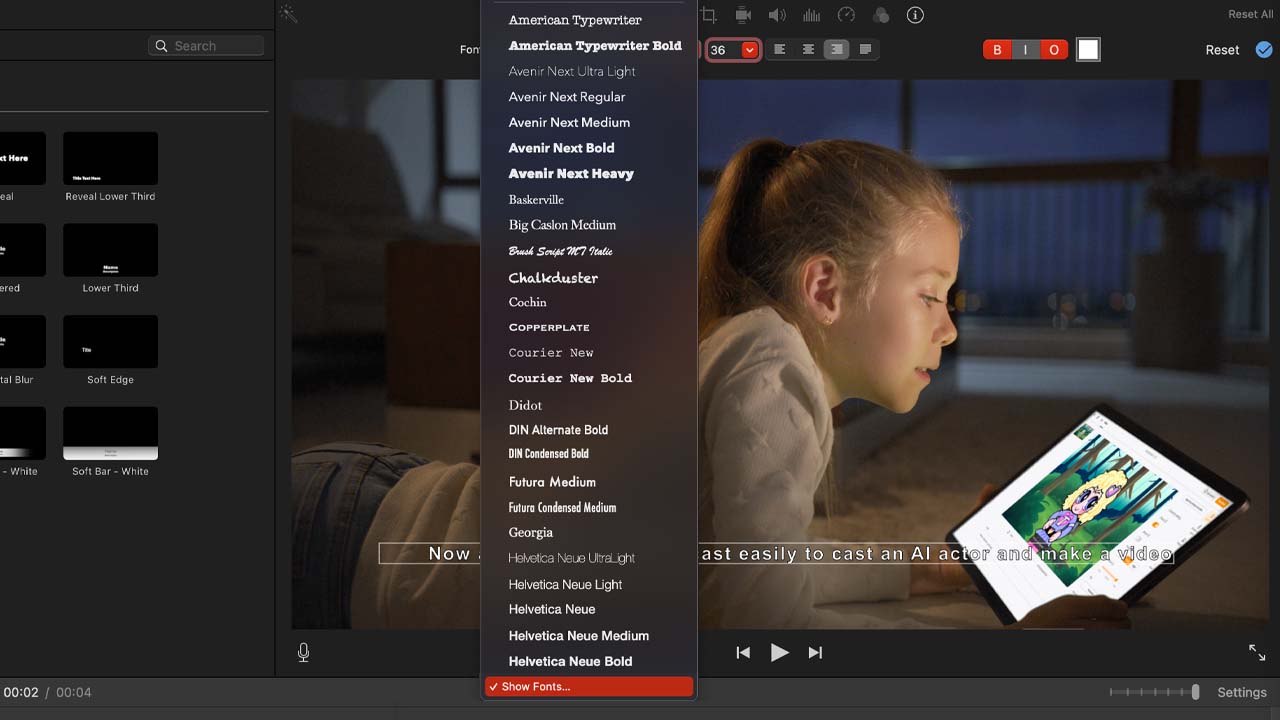
- If you want to get that classic movie subtitle look then I recommend selecting size 36 font in Arial.If you can’t see the Arial font then click on Show Fonts… at the bottom of the font list and find Arial in there.
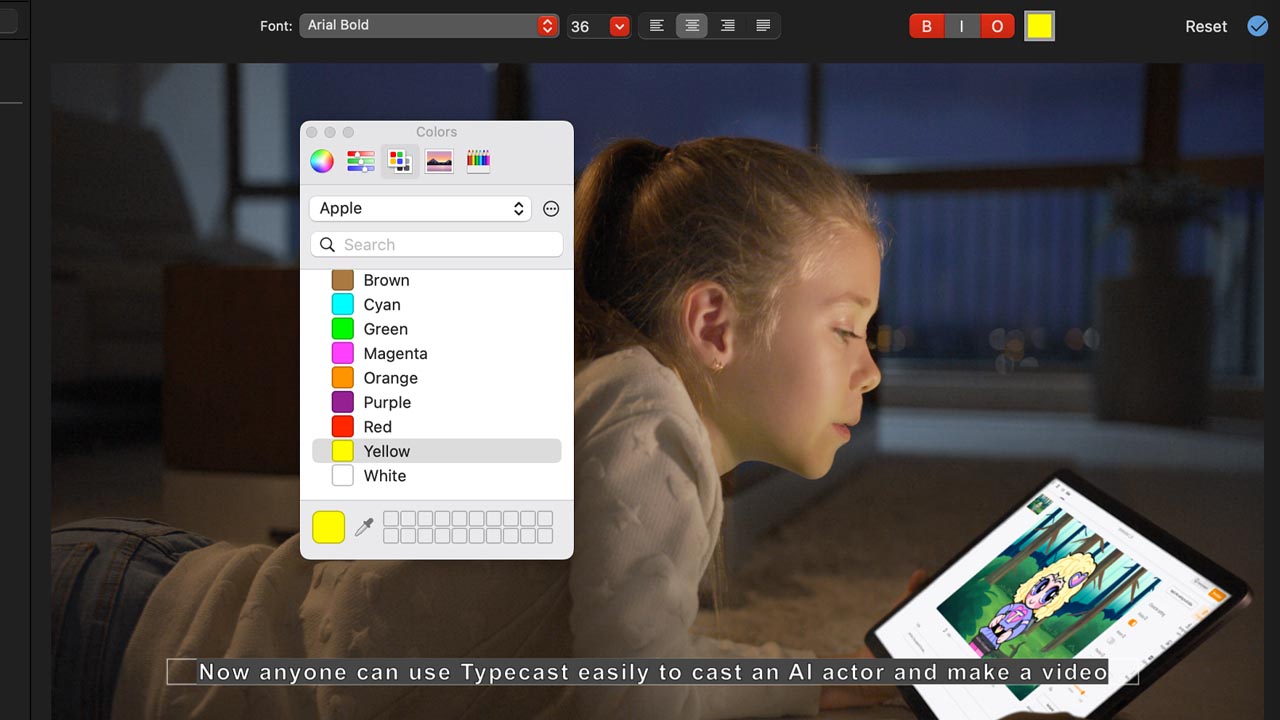
- Don’t forget to center the text as well by clicking on the same button that would be found in a word processor. You can also change the font color by clicking on the colored square in the text toolbar, but I recommend either white or yellow.
- Now we need to edit the timing of the text so that it displays exactly when we want it to in the video.To do this, you can simply drag the text bar where you want it in the timeline of the video, and then choose when it starts and finishes by clicking on the edge and dragging it along where you need it.
Final edits
There you have it! Your first subtitle.
As for the cool transitions and effects, the Title we selected already has a nice intro and outro fading animation, so that’s one less thing to worry about.
You can repeat this process as many times as you like until you have the number of subtitles you need.
This may take some time depending on how long your video is. One way to speed this up is to just copy and paste your first subtitle and then just edit the text and positioning.
Unfortunately there are no shortcuts to this. The life of a video editor can be long and tedious at times, but the end result is always satisfying and rewarding!
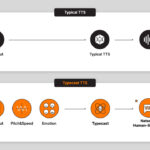
If you want to try making your videos more interesting, you can try and produce professional sound voiceovers using an AI voice generator online such as Typecast. You can subsequently add subtitles to your content as you produce your own voice overs!