




An eLearning voice-over should help learners follow the lesson without competing with the material on screen. That calls for more than generating audio from a finished script. A dependable workflow includes instructional writing, voice selection, pronunciation quality assurance, a focused listening review, and an accessible transcript before publication.
This guide provides a practical process for producing AI narration for short lessons, software walkthroughs, compliance modules, and training videos. It is designed to help course teams make deliberate editorial decisions rather than treating narration as the final export step.
Start with the lesson, not the voice
Before selecting a voice, define the learning task. Identify what learners should be able to do after the segment, what they need to notice on screen, and where narration adds context that visuals cannot provide.
A useful starting brief includes:
- The audience and their likely familiarity with the subject
- One clear learning objective for the segment
- The visual elements learners will see while listening
- Terms, names, acronyms, and numbers that need pronunciation review
- The intended pace and tone
- A plan for captions and a transcript
Narration works best when it complements the screen. Avoid reading every visible heading, menu label, or slide bullet verbatim unless the repetition serves a learning purpose. Instead, use the voice-over to explain why a step matters, signal a decision, or direct attention to the next action.
Write for listening
UAMS’s narration guidance recommends reading a script aloud to catch awkward wording and shortening sentences that do not speak naturally. Make this a separate pass from factual review: a sentence can be accurate on the page yet difficult to follow once spoken.
A script that reads well on a page can be difficult to follow aloud. Write in short, direct sentences and give each paragraph one job. Replace long parenthetical explanations with separate sentences, and introduce unfamiliar terms before using them repeatedly.
For instructional narration, it helps to mark intentional pauses in the script. A pause can give learners time to inspect a diagram, complete a click path, or consider a question. It also gives the production team a clear place to align visuals and audio.
Lesson sample: onboarding a new employee

Use the player below to listen to the original AI lesson sample (16.15 seconds). This fictional request-submission workflow illustrates instructional writing; it is not a Typecast interface or a real company policy. The supplied narration and transcript use the same text as the synthesis input. The voice is Typecast’s stock Emma, not a cloned employee.
AI lesson sample — 16.15 seconds
The following sample shows how a short script can connect narration to an on-screen action.
On screen: A dashboard appears with a highlighted “Requests” tab.
Narration: “To submit a request, select the Requests tab. Then choose New Request. Confirm the department before entering any details.”
On screen: The department field is highlighted.
Narration: “If it is incorrect, update it first. This helps route your request to the right team.”
The script does not attempt to describe every interface element. It gives learners a sequence, identifies a checkpoint, and explains the consequence of the action.
Build a voice-over in manageable sections
Break a lesson into scenes or sections that match the visual structure. This makes it easier to revise a single screen without regenerating a full module and helps reviewers identify where a timing or pronunciation issue occurs.
For each section, keep a production record with:
- Scene title or identifier
- Final narration copy
- On-screen action or visual cue
- Terms needing pronunciation review
- Reviewer comments and revision status
- Final audio filename or version identifier
When you are ready to produce the narration, use a tool that fits your review process. Teams using Typecast can create a text-to-speech voiceover after the script and scene plan are ready. Keep the first generated version labeled as a review draft, not a final asset.
Choose a voice that supports the subject
Voice selection is an editorial decision. The goal is not to find the most dramatic delivery; it is to select a voice that fits the audience, subject matter, and pace of the lesson.
For example, a safety procedure may need a calm, measured delivery, while a product introduction may allow a more energetic style. Consistency matters across a course: abrupt changes in pace or tone can make a multi-part lesson feel disconnected.
During the first listening pass, assess whether the voice:
- Maintains a pace appropriate for the material
- Keeps instructions distinct from supporting explanation
- Sounds clear around acronyms, numbers, and interface labels
- Leaves enough space for learners to inspect visuals
- Matches the intended tone without distracting from the lesson
Do not make voice choice a substitute for script editing. If a sentence sounds rushed or unclear, revise the sentence first. Shorter, more direct wording often solves the issue better than repeated adjustments to delivery settings.
Run pronunciation QA before full production
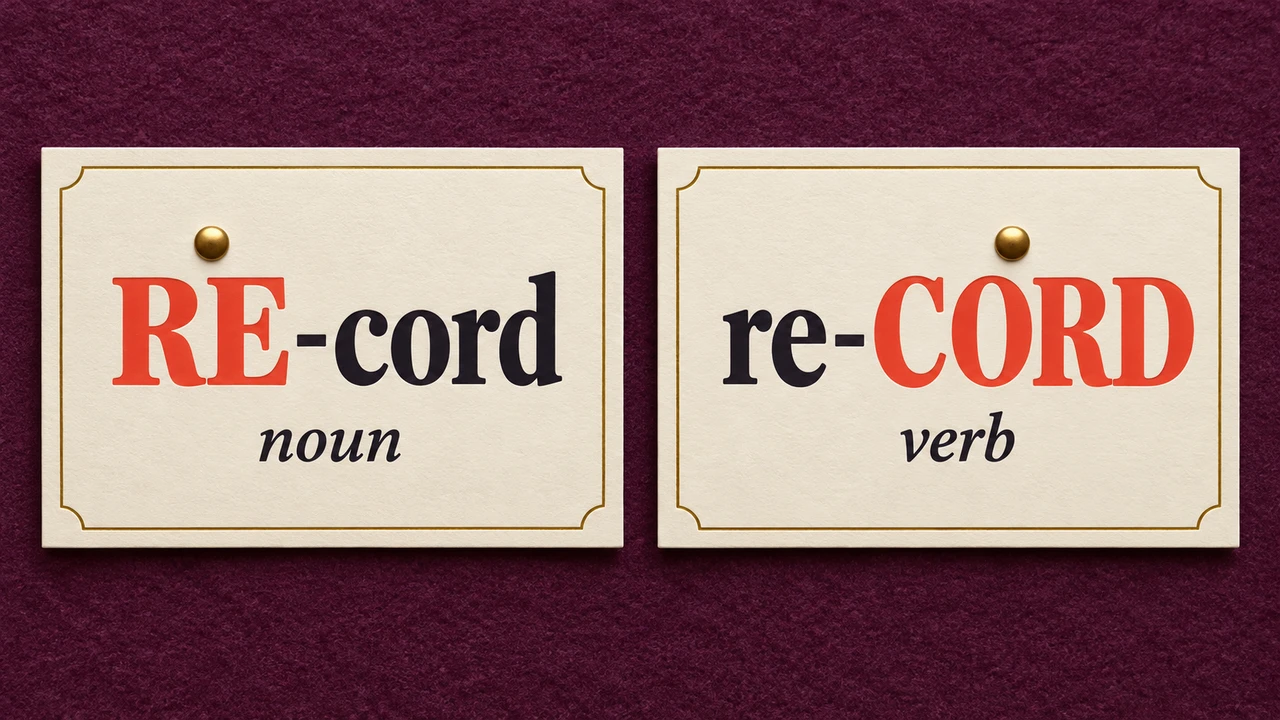
Pronunciation quality assurance is especially important for eLearning because a single misread name, technical term, product label, or abbreviation can affect learner confidence and create avoidable rework.
Create a pronunciation list before generating final audio. Include proper names, brand names, acronyms, file extensions, units of measurement, regional place names, and words with more than one accepted pronunciation.
A simple pronunciation QA process
1. Extract risk terms from the script. Highlight anything a new narrator could reasonably misread.
2. Confirm the preferred pronunciation. Check with a subject-matter expert or the organization that owns the terminology.
3. Create a short test passage. Put all risk terms into natural sentences, not just a word list.
4. Listen with the script in view. Note stress, pauses, number formats, and whether labels are distinguishable.
5. Revise the script or production settings as needed. Spell out an acronym on first mention when that improves clarity.
6. Approve the test before generating the remaining sections. Record the approved version so later edits follow the same convention.
For example, a lesson that refers to “Q A,” “S Q L,” and “version two point zero” should specify those conventions in the script or pronunciation notes. Do not assume every abbreviation should be spoken as a word.
Review audio against the learning experience
A complete review includes more than checking whether the audio file plays. Reviewers should listen while watching the lesson or storyboard, because timing issues often appear only when narration and visuals are combined.
Use a short review checklist:
- Does each sentence begin after the relevant visual is available?
- Is there enough time to complete any demonstrated action?
- Are directions sequenced in the same order as the on-screen steps?
- Are key terms pronounced consistently across scenes?
- Are pauses intentional rather than accidental?
- Is any sentence redundant with the screen or too dense to process in one pass?
Invite a subject-matter reviewer to verify terminology and an instructional reviewer to verify clarity. If the course has a formal accessibility review, include the narration script and transcript in that review package.
Publish an accessible transcript

W3C’s captions guidance explains that captions are synchronized with the audio and that automatic captions need accuracy checks and correction. Caption text can also be used to develop a transcript. Check both against the finished narration, and verify that captions remain available in the exported or uploaded lesson.
A transcript gives learners another way to access narration and can support review, searching, and note-taking. It should reflect the final published audio rather than an earlier script draft.
Accessibility guidance for eLearning emphasizes considering learners’ different access needs and providing alternatives to content that may otherwise be inaccessible. The Open University’s guidance discusses accessibility considerations for eLearning, including the value of making learning materials available in accessible forms such as text alternatives and transcripts where appropriate (Open University).
An effective transcript should:
- Match the final narration, including meaningful corrections made during production
- Identify speakers when more than one voice is used
- Describe essential audio cues when they carry instructional meaning
- Link or sit near the relevant lesson segment
- Use headings and readable formatting for longer modules
Transcript example
Scene 2: Submit a request
Narrator: To submit a request, select the Requests tab. Then choose New Request.
Narrator: Confirm the department before entering any details.
[On-screen action: The department field is highlighted.]
Narrator: If it is incorrect, update it first. This helps route your request to the right team.
The bracketed visual note is useful when it provides context that the narration alone does not convey. Keep descriptions concise and focused on information learners need to understand the task.
Maintain the lesson after launch

eLearning content changes. Interface labels are renamed, policies are updated, and new examples replace old ones. A scene-based workflow makes it easier to identify the affected narration, update the transcript, and run pronunciation QA again when new terminology appears.
Keep the approved script, pronunciation list, transcript, and final audio files together in the course source materials. This record reduces uncertainty when another editor needs to refresh the lesson later.
AI narration is one part of a broader instructional production process. For additional context on where voice tools can fit across different content formats, see this overview of a text-to-speech application. The strongest eLearning voice-over is not simply generated quickly; it is planned, reviewed, accessible, and aligned with what learners need to do next.