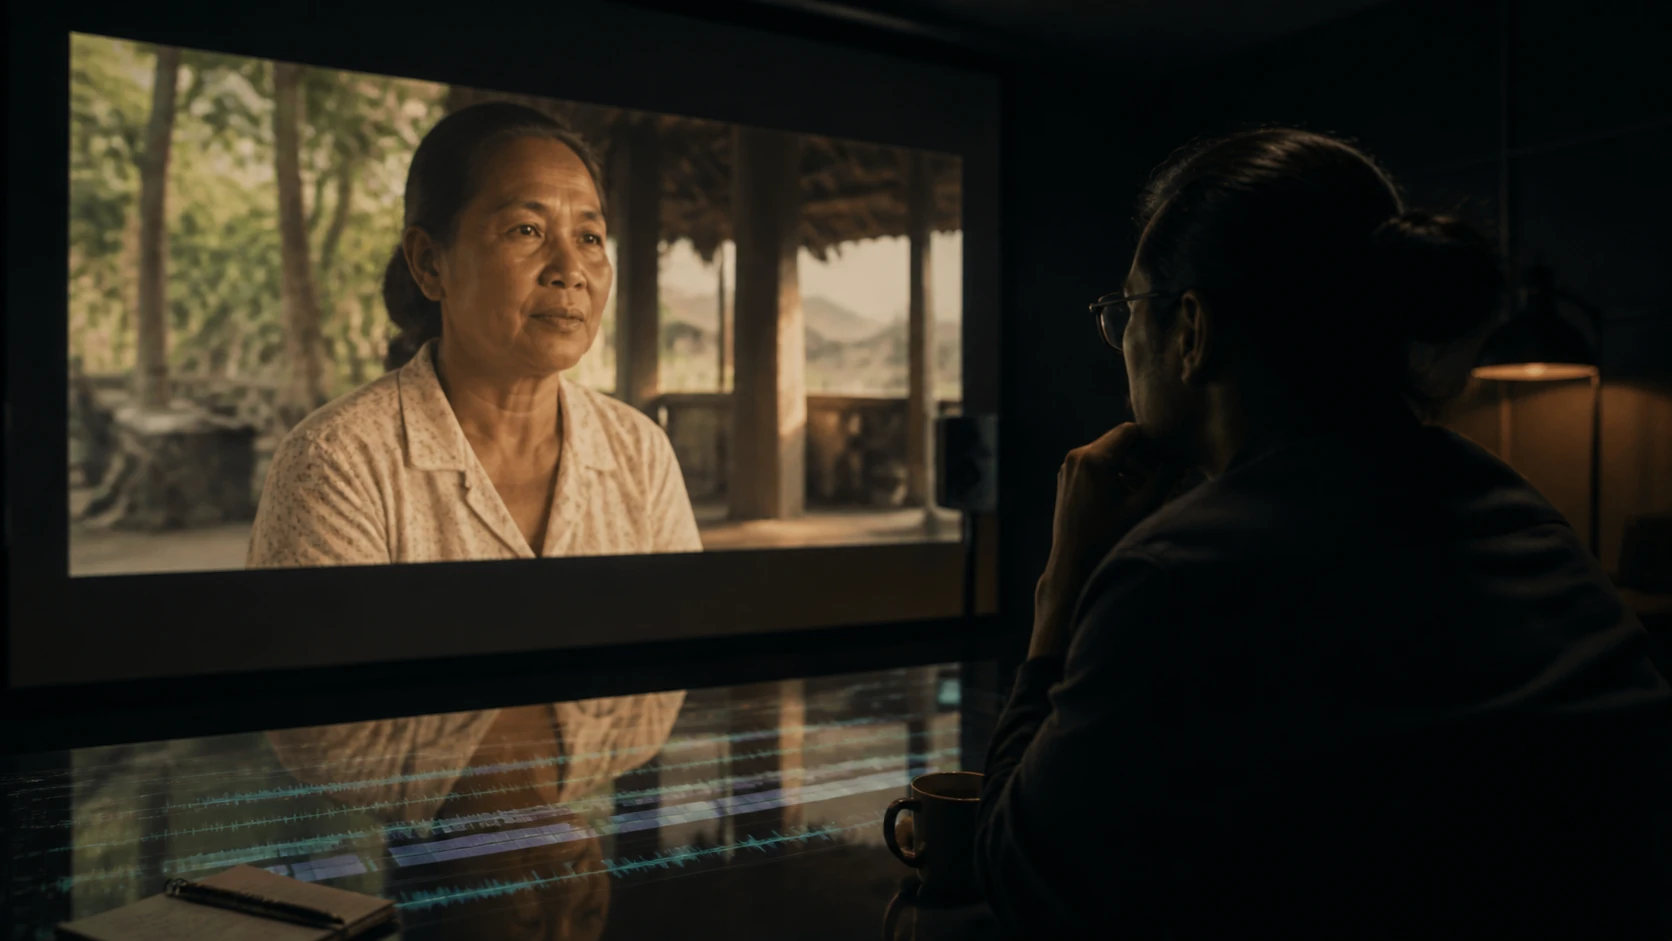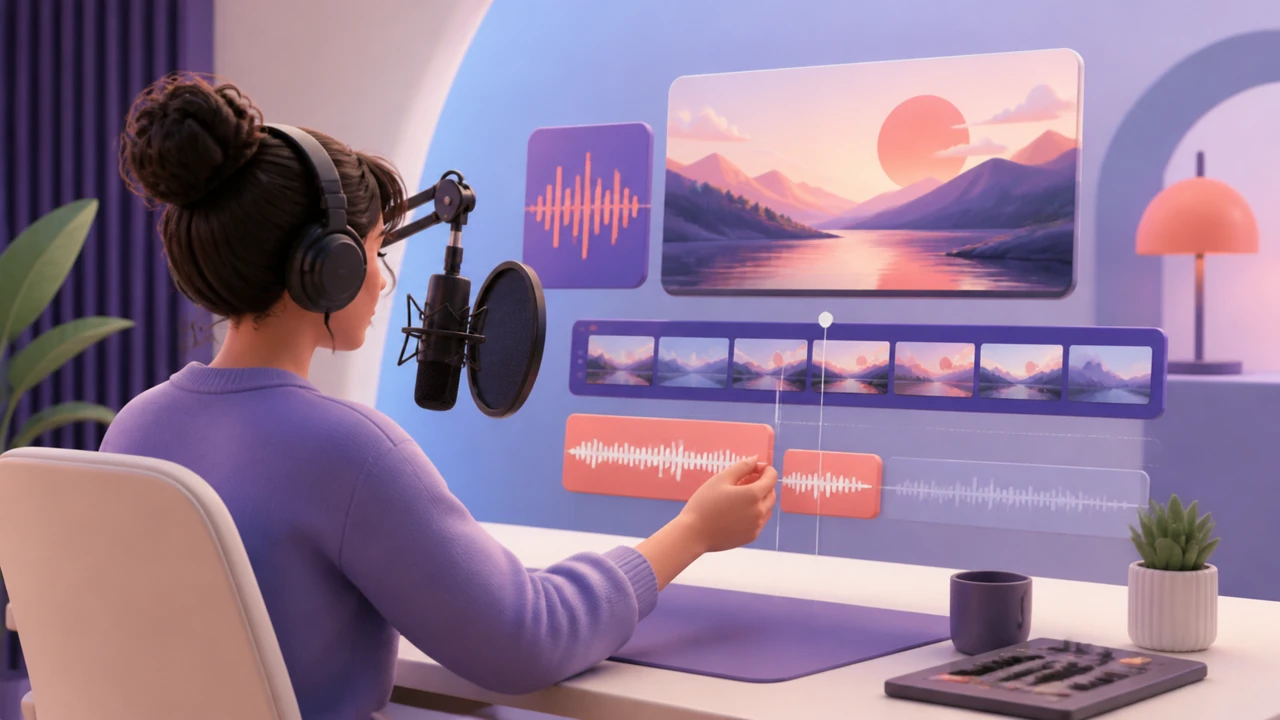



Learning how to do a voiceover on a video can make a simple clip more useful, engaging, and easier to follow. Whether you are explaining a product, teaching a process, telling a story, or creating social content, narration gives viewers context that visuals alone may not provide.
You can create a video voiceover in several ways: record your own voice, hire a voice actor, or generate narration with text-to-speech. The best approach depends on your timeline, budget, available recording environment, and the style of video you want to make. This guide starts with a no-recording workflow, then covers recording, syncing, editing, and exporting a polished result.
Choose your voiceover workflow
Before opening a video editor, decide how the narration will be created. This choice affects your script, production schedule, and editing process.
Option 1: Create narration with text-to-speech
Text-to-speech narration begins with a written script. You enter or paste the script into a voice-generation tool, choose a voice that fits the project, review the output, and use the resulting audio in your video.
This workflow can be useful when you do not want to record yourself, need to revise wording quickly, or are producing multiple videos with a consistent narration style. The key is to treat generated narration like any other production asset: review pronunciation, pacing, emphasis, and tone before publishing.
If you are creating a narration-led video without appearing on camera, the Typecast faceless video creator can fit into a workflow built around scripts, visuals, and voice.
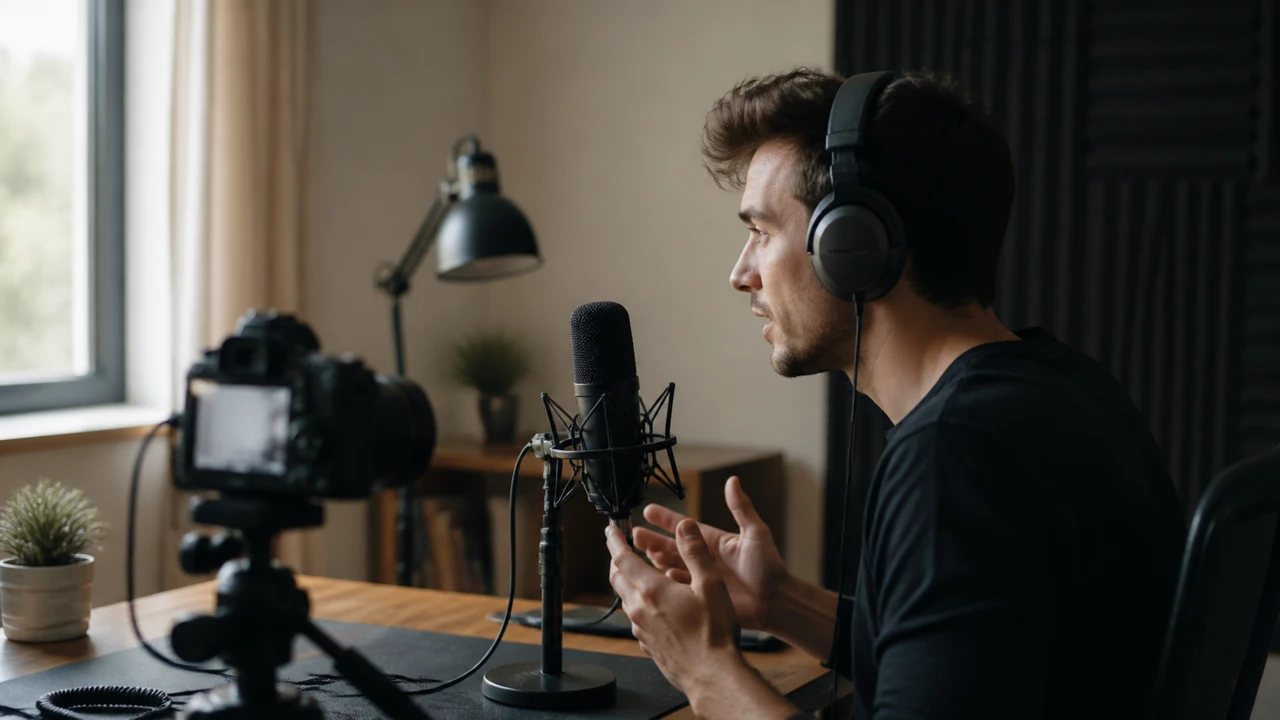
Option 2: Record your own voice
Your own voice can add familiarity and authority, especially for tutorials, personal stories, team updates, and subject-matter explanations. You do not need a professional studio to begin, but you do need a relatively quiet space and a clear recording plan.
Record in a room with minimal echo, turn off notifications and noisy appliances, and position the microphone consistently. A short test recording will help you identify issues such as low volume, mouth noise, or background hum before recording the full script.
Option 3: Work with a voice actor
A voice actor may be a good fit when the project requires a specific performance style, brand character, language capability, or emotional range. Provide a detailed brief that includes the script, audience, intended platform, desired pace, pronunciations, and examples of the tone you want.
No matter which option you choose, use a script first. A script gives you a reliable structure for editing the video and makes revisions less disruptive.
Step 1: Write a script that matches the video
A voiceover script should sound natural when spoken, not merely read well on a page. Start by defining one main takeaway for the video. Then organize the script around the sequence viewers will see.
For a tutorial, the narration should usually follow the action on screen. For a promotional or explainer video, it may introduce the problem first, then show the solution. For a short social video, the opening line needs to establish relevance quickly.
Use these practical scriptwriting guidelines:
- Write short sentences that are easy to say in one breath.
- Prefer plain language over technical wording unless your audience expects specialized terms.
- Give visual instructions only when they support what is happening on screen.
- Read the draft aloud to find awkward phrases.
- Add pronunciation notes for names, acronyms, or uncommon words.
- Leave room for pauses after important ideas.
Avoid trying to narrate every visual detail. If viewers can clearly see a button being selected or a person entering a room, the narration can focus on why that action matters instead of repeating the obvious.
Estimate the running time
Your script length should fit the planned video duration. Rather than relying on a fixed word count, do a timed read at a natural pace. People speak at different speeds, and the right pace also changes by format. Educational content may need more breathing room than a fast-paced short-form clip.
When timing the script, include pauses for transitions, demonstrations, onscreen text, and moments when viewers need time to absorb a visual. If the narration feels rushed during the timed read, reduce the script before you begin editing.

Step 2: Prepare the video timeline
Import your footage, screen recordings, images, music, and other assets into your video editing project. Place the main visual sequence on the timeline before finalizing the voiceover timing.
You do not need every cut to be perfect yet, but the rough order should be clear. This gives you a visual map for matching narration to the right moments.
At this stage, identify:
- The opening hook or first key message.
- Sections that need explanation.
- Visual transitions that may require a pause.
- Moments where narration should stop and natural sound should be heard.
- The ending and call to action, if the video has one.
A simple timeline plan prevents a common problem: recording a smooth narration that no longer fits after the footage is rearranged.
Step 3: Create or record the narration
With the script and rough timeline ready, create the voiceover.
For text-to-speech narration
Paste the final script into your chosen tool in manageable sections rather than treating a long script as one unbroken block. Separate paragraphs by scene or idea so you can replace a single line without recreating the whole audio track.
Listen closely for proper names, numbers, abbreviations, and words with multiple pronunciations. Also listen for unnatural emphasis. Small rewrites often solve pacing or pronunciation issues more effectively than repeatedly adjusting the same sentence.
Export or bring the narration into your editing timeline in a format your editor supports. Keep your script and audio sections clearly labeled so revisions are easy to track.
For recorded narration
Record a short warm-up before the final take. Speak slightly slower than you think you need to, especially if the video includes demonstrations or dense information. Aim for a clear, conversational delivery rather than an overly formal performance.
If you make a mistake, pause and repeat the sentence from the beginning. Do not stop the entire recording for every small error. This creates clean edit points and keeps the session moving.
Record multiple takes of important opening lines, transitions, and calls to action. These are often the moments where a different emphasis can noticeably improve the finished video.
Step 4: Add voiceover to video and sync it to visuals
Now place the narration on an audio track beneath or alongside the video. Start by aligning the first line with the opening visual, then work through the timeline section by section.
To add voiceover to video effectively, prioritize meaning over perfect word-for-word alignment. A visual can appear just before the narrator mentions it if that creates a smoother viewing experience. The important thing is that viewers understand what they are seeing and hearing together.
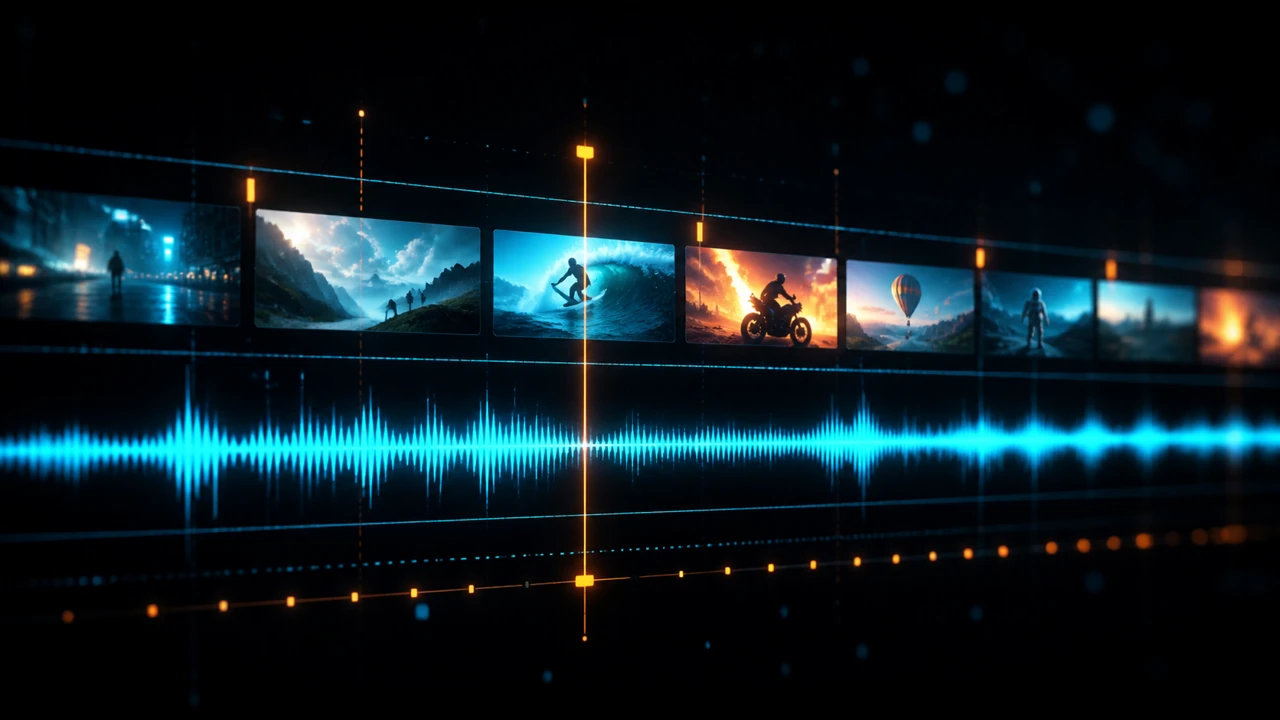
Use markers to identify major script beats, such as a new step in a tutorial or a shift from problem to solution. Then trim footage, extend a clip, or insert a transition where needed to support the narration.
If a sentence no longer fits, consider these options:
1. Trim unnecessary wording from the narration.
2. Replace a long visual with a shorter, clearer clip.
3. Add a cutaway, screenshot, graphic, or text overlay.
4. Split the sentence with a pause between ideas.
5. Re-record or regenerate only the affected line.
Avoid speeding up narration excessively to force it into the timeline. Fast audio can make the video harder to understand and leave viewers without enough time to process important visuals.
Step 5: Edit audio for clarity
A good voiceover should be easy to hear without drawing attention to technical problems. Listen through the entire project with headphones, then listen again through speakers if possible. Different playback methods can reveal different issues.
Focus on the following areas:
Volume balance
The narration should remain understandable over music, sound effects, and source audio. Lower background music during spoken sections, particularly when the script includes detailed instructions or unfamiliar terms.
Pauses and pacing
Trim overly long silences, but keep deliberate pauses that help viewers absorb an idea or watch an action. A brief pause before a key instruction can make the video feel more confident and easier to follow.
Consistency
If you recorded on different days or used multiple narration clips, listen for noticeable shifts in volume, tone, or background noise. Adjust each clip so the overall voice track feels cohesive.
Natural sound
Do not assume narration must cover the entire video. Product sounds, ambient audio, demonstrations, and short silent moments can make a video feel less crowded. Use narration where it provides context, direction, or story.
Step 6: Add captions and supporting text
Captions make narrated videos easier to follow in sound-off environments and can support viewers who prefer or need text alongside audio. Review captions carefully rather than relying only on automated output, especially for names, technical terms, and numbers.
Supporting text can reinforce important messages, but it should not duplicate every spoken word. Use it to highlight a key step, label a feature, show a URL, or summarize a takeaway.
Keep text readable by using enough contrast, limiting the number of words on screen, and giving viewers adequate time to read it. If the narration moves quickly, simplify the onscreen copy instead of trying to display a full transcript.
Step 7: Review before exporting
Before you export, watch the video from beginning to end as a viewer would. Do not edit while watching the first pass. Take notes on anything that feels unclear, rushed, repetitive, or distracting.
Use this final checklist:
- Does the opening explain why viewers should keep watching?
- Does the narration match the visuals at each major step?
- Are names, numbers, and key terms pronounced correctly?
- Is the voice understandable on both headphones and speakers?
- Does music stay below the narration?
- Are captions accurate and timed correctly?
- Does the ending provide a clear next step?
Then export the video in the format and dimensions required by your publishing platform. Save the editable project, original narration files, and final script in case you need to make a later update.
Common voiceover mistakes to avoid
Even a well-written script can lose impact during production. Watch for these common issues.
Writing for the page instead of the ear
Long, formal sentences often sound unnatural when spoken. Read the script aloud early and revise for clarity.
Explaining what viewers already see
Narration should add context, not simply describe every action on screen. Use it to explain the purpose, benefit, or next decision.
Ignoring pronunciation and emphasis
Review generated or recorded audio before completing the edit. Mispronounced names and awkward emphasis can undermine an otherwise polished video.
Using music that competes with the voice
Background music should support the mood, not fight for attention. If listeners must strain to hear the narrator, lower or simplify the music.
Skipping the final playback review
A timeline can look correct while still feeling out of sync in motion. Always watch the full video before publishing.
Build a repeatable voiceover process
Once you know how to do a voiceover on a video, create a reusable process for future projects. Keep a script template, name audio files consistently, and save examples of voice styles that work for your audience. This makes it easier to produce videos with a coherent tone over time.
If your work expands into multilingual narration, planning matters even more. Translation, timing, cultural context, and language-specific pronunciation can all affect the finished result. For a broader overview of that process, see the AI Dubbing Guide.
The strongest video voiceover is not necessarily the most elaborate one. It is the one that helps viewers understand the message, follow the visuals, and know what to do next.