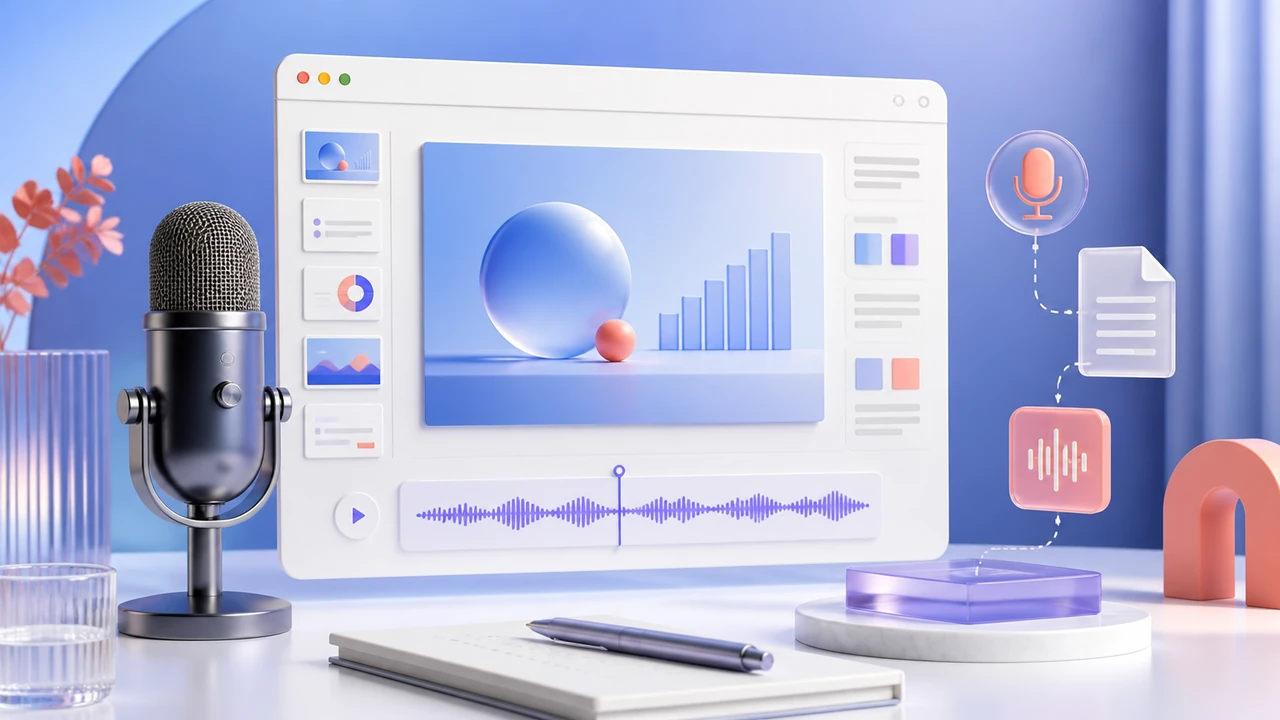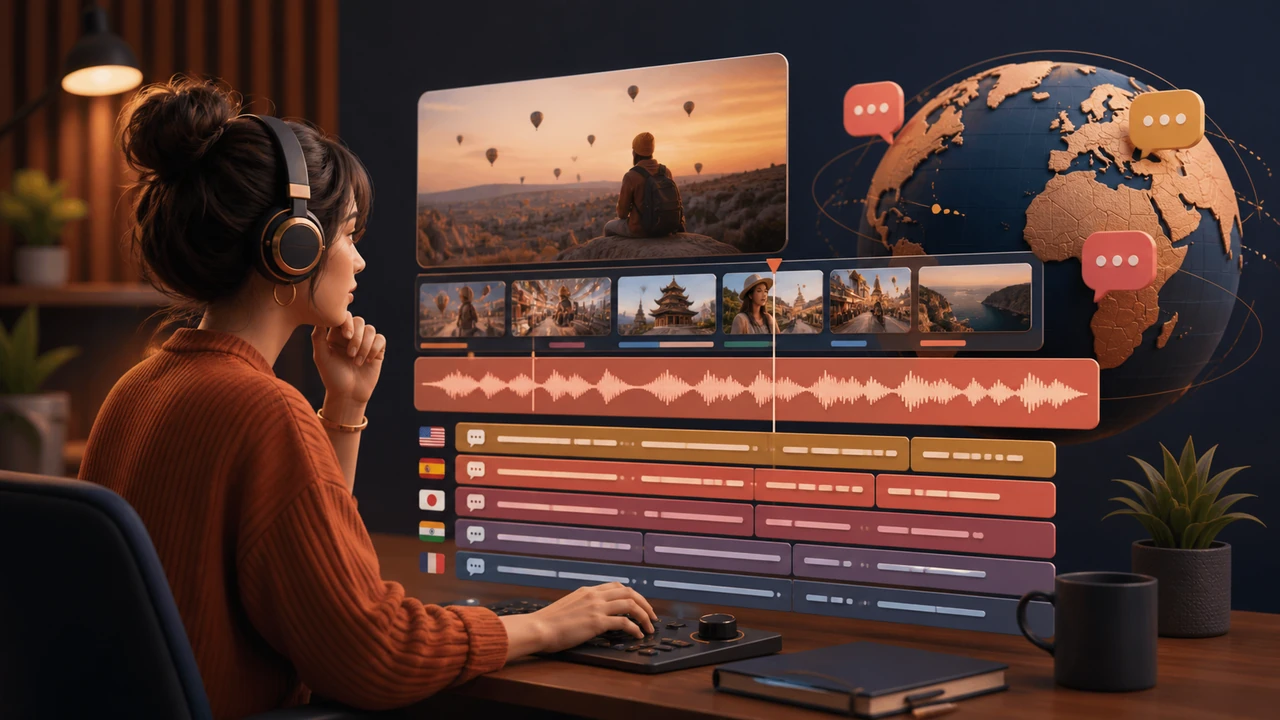




Learning how to generate AI voice narration starts with a practical goal: turning a finished script into audio that is clear, appropriately paced, and easy for an audience to follow. AI voice generation can support videos, product walkthroughs, lessons, presentations, and screen recordings when you plan the narration before creating it.
Rather than treating a generated voice as the final step, approach it as part of a production workflow. Write for listening, choose a voice that fits the material, generate short sections, and review the audio against the visuals. That process gives you more control over clarity and timing.
For a broader overview of the technology and common use cases, start with this text-to-speech guide.
What it means to generate an AI voice
To generate an AI voice, you provide written text to a voice-generation tool, select a suitable voice, and create spoken audio from the script. The output may be used as a standalone audio file or paired with visual content such as a screen recording.
The quality of the result depends heavily on the input. A polished written paragraph is not always an effective narration script. Listeners need room to process instructions, transitions, names, numbers, and on-screen actions. Small revisions to wording and punctuation can make the narration easier to understand.
A useful workflow has four parts:
1. Define the audience and purpose.
2. Write and edit a narration-ready script.
3. Generate the voice in manageable sections.
4. Review the recording with the final visuals and revise where needed.
Step 1: Define the narration goal
Before choosing a voice or writing a script, decide what the audio needs to accomplish. The right approach for a short social video may not suit a training module or software tutorial.
Ask a few planning questions:
- Who will hear the narration?
- What should they understand or do after listening?
- Will the voice explain visuals, introduce a topic, or provide instructions?
- How long should the finished recording be?
- Does the content need an energetic, conversational, calm, or formal tone?
For screen recordings, the voice usually has two jobs: orient the viewer and explain actions at the moment they appear. This makes timing especially important. If the narration runs ahead of the cursor or describes an interface element after it has disappeared, the viewer may lose the thread.
Keep the goal narrow. One video can introduce a process, demonstrate a task, or explain a decision, but trying to do all three at once often produces a script that feels rushed.
Step 2: Write a script for listening

AI voice generation works best with a script that sounds natural when read aloud. Write in complete thoughts, use direct language, and avoid packing several instructions into one sentence.
Use short, speakable sentences
A sentence that looks efficient on a page can be difficult to follow in audio. Break dense ideas into smaller units, especially when explaining a process.
For example, instead of writing:
> Open the settings menu, select notifications, update the delivery preference, and save the changes before returning to the dashboard.
You could write:
> Open the settings menu. Select Notifications. Choose the delivery preference you want, then save your changes. When you are finished, return to the dashboard.
The second version gives the listener clearer checkpoints and makes it easier to align each instruction with a screen action.
Write transitions into the script
Listeners cannot scan backward as easily as readers can. Add simple transitions to show where they are in the process:
- “First, open the project settings.”
- “Next, review the available options.”
- “Now that the setup is complete, you can test the result.”
- “Finally, save the changes.”
These phrases are useful in screen-recording narration because they signal a change before the visual action begins.
Spell out unclear terms when needed
Review acronyms, product names, technical terms, abbreviations, and numbers. If a term could be pronounced in more than one way, consider rewriting the sentence so its meaning is clear. You can also separate long strings of letters and numbers into more understandable groups.
Read the script aloud before generating audio. If you stumble over a sentence, a listener may also find it difficult to follow.
Step 3: Choose a voice that matches the content
Voice selection should serve the audience and the material. A highly animated delivery may fit a promotional explainer, while a steady and measured delivery may be better for a tutorial or compliance-oriented presentation.
When comparing voice options, listen for:
- Overall tone and energy
- Clarity at a normal listening volume
- Pacing on longer sentences
- Pronunciation of terms used in your script
- Whether the voice fits the expected audience and setting
Avoid choosing a voice based only on a short sample. Test it with a representative part of your actual script, including any technical vocabulary and transitions. A voice that sounds appealing in one sentence may not suit a longer instructional sequence.
If you are exploring a tool for this workflow, Typecast’s text-to-speech can be a starting point for creating narration from written scripts.
Step 4: Generate narration in sections

Generating an entire long script at once can make review and revision harder. Instead, divide the narration into logical sections, such as an introduction, a set of steps, a transition, and a conclusion.
This approach helps you:
- Identify a pacing issue without reworking the full recording
- Update one instruction when the screen recording changes
- Keep narration aligned with individual scenes or actions
- Compare alternate wording for an important explanation
For a tutorial, each section can correspond to one screen or one task. For example:
1. Introduce the task and its outcome.
2. Show where to begin.
3. Explain each action in order.
4. Point out a decision or common error.
5. Confirm the completed result.
Name your script sections clearly while drafting. Labels such as “Intro,” “Step 1,” and “Review” are simple, but they make it easier to match audio revisions to the right part of the video later.
Step 5: Build a screen-recording narration workflow
Screen recordings are a strong use case for AI-generated narration because the script can be planned around a repeatable visual sequence. The key is deciding whether the audio or the recording will lead the process.
Option A: Record the screen first
This method works well when the workflow is unpredictable or when you need to react to a live interface. Capture the task first, then draft narration based on the final sequence of actions.
After recording:
1. Watch the footage and note each meaningful action.
2. Create a short narration line for each action or transition.
3. Remove pauses, detours, or unnecessary clicks from the visual edit.
4. Generate the audio in matching sections.
5. Place each section on the timeline and adjust the edit as needed.
This method helps ensure that the voice describes what viewers actually see.
Option B: Script the narration first
This option is useful when you can control the screen recording and want a more structured tutorial. Draft the narration, generate a working version, and use it as a guide while recording the screen.
The process can look like this:
1. Outline the task and write the script.
2. Generate a draft narration track.
3. Record the screen while following the audio timing.
4. Edit the footage to remove delays and mistakes.
5. Replace or revise audio sections that no longer match the final video.
A script-first approach can make a tutorial feel intentional, but leave room for adjustments. Interfaces, load times, and unexpected steps can change the timing during recording.
Step 6: Edit for pacing and synchronization
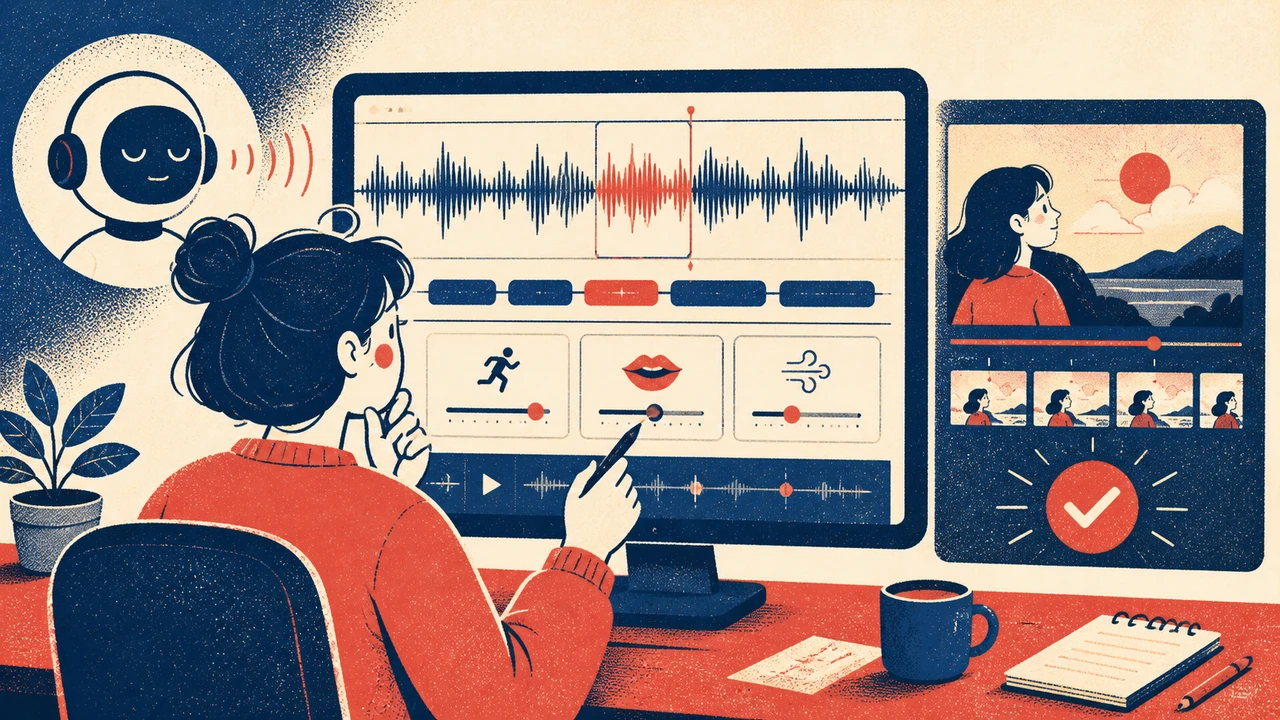
The first generated version is a review draft, not necessarily the final narration. Play the audio with the visuals and look for moments where the listener might need more context or more time.
Pay particular attention to these issues:
Narration that starts too late
If the cursor is already clicking before the instruction begins, viewers may miss the purpose of the action. Consider moving the narration earlier or adding a brief pause before the click.
Narration that runs ahead of the screen
If the voice explains an option before it is visible, slow the pacing by splitting the line, shortening the visual transition, or adjusting the script.
Long pauses without a purpose
A short pause can give viewers time to absorb a step. A long pause can feel like an error. Trim unnecessary silence unless the viewer needs time to read, locate an item, or complete an action.
Dense explanations over busy visuals
When the screen includes menus, tables, or multiple settings, simplify the narration. Explain the most important action first, then add detail only if it helps the viewer complete the task.
Step 7: Review before publishing
A final review should cover both the sound and the instructional value of the content. Listen once without watching the screen, then watch once with the sound on.
When listening only, check whether the narration is understandable on its own. When watching the complete video, check whether every instruction arrives at the right moment.
Use this final checklist:
- Does the opening explain what the viewer will learn?
- Does each sentence use clear, natural language?
- Are names, numbers, and technical terms understandable?
- Does the narration match the on-screen action?
- Are transitions clear between steps?
- Is the ending concise and useful?
- Have you removed information that does not support the viewer’s next action?
If possible, have someone unfamiliar with the workflow review the video. Their questions can reveal missing context that is easy to overlook when you already know the process.
Common mistakes to avoid
Treating the script like an article
Written content can include long explanations, side notes, and complex sentences. Narration needs a more direct path. Write for the ear, not just the page.
Generating audio before the message is settled
Frequent script changes can create unnecessary rework. Finalize the structure and core instructions before producing a polished narration pass.
Using one pace for every moment
Not every section needs the same speed. A simple transition can move quickly, while a detailed instruction may need more space.
Explaining every visible detail
Narration should guide attention, not describe every pixel on the screen. Focus on what the viewer needs to notice, understand, or do.
Final thoughts
Knowing how to generate AI voice narration is less about pressing a single button and more about building a dependable process. Start with a clear purpose, write for listening, generate the script in sections, and review the audio alongside the final visuals.
For screen recordings, the strongest results usually come from close coordination between narration and action. When each line has a clear visual purpose, AI voice generation can help turn a basic recording into an easier-to-follow instructional experience.