

Tutorial videos can turn a repeatable process into an on-demand learning resource. Whether you are explaining a software workflow, onboarding customers, or teaching an internal process, learning how to make a tutorial video starts with instructional clarity—not recording software.
A useful tutorial gives viewers a specific outcome, shows the steps in the right order, and removes distractions that make a process harder to follow. The production details matter, but a polished screen recording cannot fix an unclear lesson plan.
This guide walks through how to plan, record, edit, caption, and narrate a tutorial that helps viewers complete a task with confidence.
Start with one learner goal
Before opening a recorder or writing a script, define what viewers should be able to do after watching. Keep that outcome narrow enough to teach in one sitting.
For example, a goal such as “understand the reporting dashboard” is broad. A more teachable goal is “create and export a monthly performance report.” The second goal tells you what to demonstrate, which steps to include, and where the tutorial should end.
Write your goal as a simple completion statement:
> After watching this video, the viewer will be able to ___.
Then identify the audience’s starting point. A tutorial for first-time users should explain basic terms and setup requirements. A tutorial for experienced users can move more quickly and focus on the specific workflow, shortcut, or troubleshooting task.
This planning approach also helps you decide whether the lesson should be one video or a short series. If viewers need to install software, configure settings, gather materials, and complete several advanced tasks, breaking the topic into smaller tutorials may be easier to follow.
For a broader overview of assembling footage, audio, and instructional elements, see this AI video editor guide.
Outline the lesson before you record
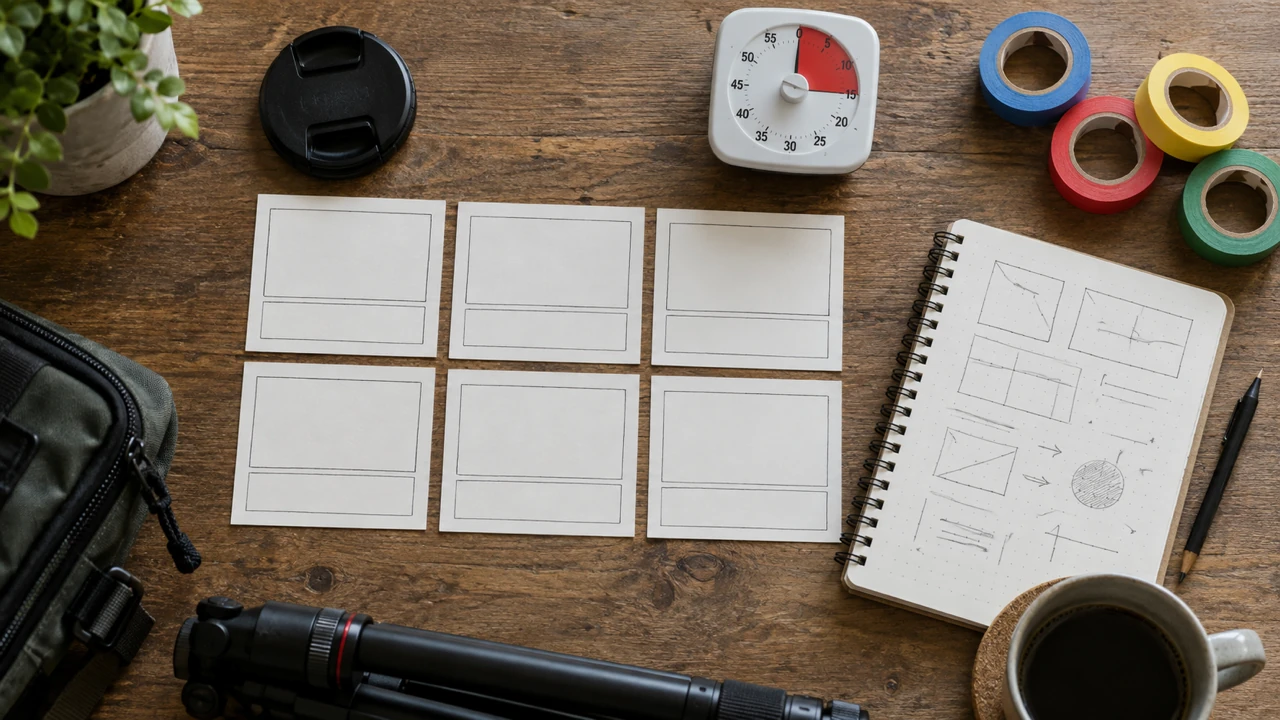
A tutorial outline prevents unnecessary detours during recording. It also makes editing faster because you know which moments belong in the final sequence.
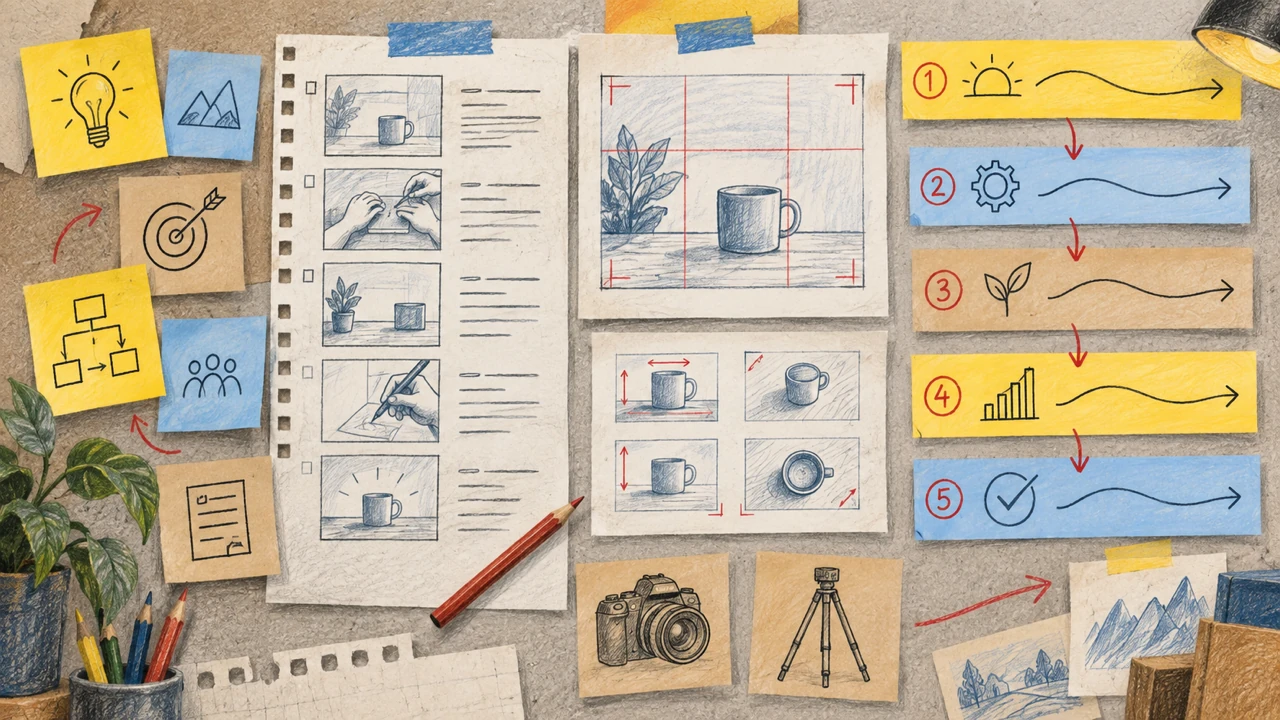
A practical outline usually has five parts:
1. The outcome: State what the viewer will accomplish.
2. What they need: Mention required access, files, tools, or prerequisites.
3. The steps: Demonstrate each action in the order it should happen.
4. A checkpoint: Show what success looks like after important steps.
5. The next action: Explain where viewers can go after finishing.
Keep steps task-based rather than feature-based. Instead of presenting every menu and setting, show only the options required to complete the stated goal. If a setting is optional, call it out as optional rather than interrupting the main path.
Use a step table for complex tutorials
For a software tutorial, a simple table can keep the visual demonstration, narration, and learner action aligned.
| Step | What appears on screen | What the narration explains | Viewer result |
|---|---|---|---|
| 1 | Starting screen | Where to begin and why | Viewer finds the entry point |
| 2 | Key menu or control | Which option to choose | Viewer makes the correct selection |
| 3 | Form or configuration panel | What information to enter | Viewer completes the setup |
| 4 | Finished result | How to confirm success | Viewer knows the task is done |
This format is especially helpful when deciding how to make a software tutorial video. It keeps the tutorial centered on a real workflow instead of becoming a tour of every interface element.
Write a script that supports the screen
A script does not need to sound formal. Its purpose is to make the explanation accurate, concise, and easy to follow.
Start by writing the opening in one or two sentences. Tell viewers what they will learn, who the tutorial is for, and what they should have ready. Then write short narration lines for each step.
Good tutorial narration adds context the viewer cannot get from the screen alone. It explains why a choice matters, what to look for, or what to do if the expected result does not appear.
For example, instead of narrating every visible click—“Click Settings, then click Notifications”—add useful guidance: “Open Settings and choose Notifications so you can control which updates trigger an alert.”
Keep narration easy to scan
Use short sentences and one instruction at a time. Avoid packing several actions into a single line, particularly when the viewer needs to interact with software while watching.
It can also help to mark your script with recording cues:
- [Click] for an action to show
- [Pause] for a moment viewers may need to inspect
- [Zoom] for a small interface detail
- [Example] for a sample result
- [On-screen text] for a term or warning worth reinforcing
Read the script aloud before recording. If a sentence feels awkward to say, simplify it. Spoken instructions should sound natural and leave room for viewers to process what is happening on screen.
Prepare your screen and recording environment
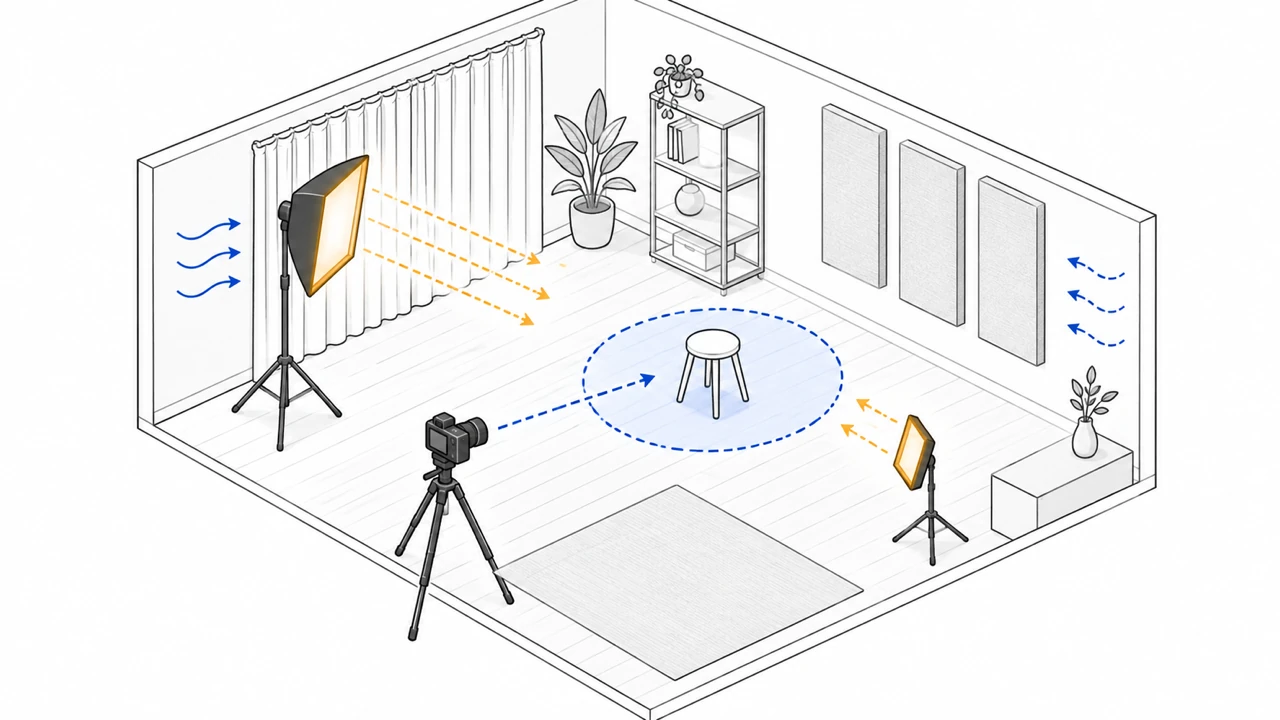
When you make a video tutorial, the screen is part of the lesson. A cluttered desktop, unexpected notifications, or tiny interface text can distract from otherwise useful instruction.
Before recording, close unrelated applications and browser tabs. Turn off notifications, hide personal information, and confirm that sample files do not contain sensitive details. If you are demonstrating a customer-facing tool, use a test account or prepared sample data when appropriate.
Set up the recording area so the important interface elements are readable at the size viewers are likely to use. You may need to increase display scaling, adjust browser zoom, or enlarge a key panel before recording.
Also decide whether the tutorial needs a full-screen recording, a single application window, a webcam view, or a combination. Full-screen captures can provide context, while a focused application window can reduce visual noise. A webcam introduction may help establish a human connection, but it is not necessary for every lesson.
Record the demonstration in sections
If you are wondering how to make a tutorial video by recording your screen, begin with short, manageable sections rather than trying to capture the entire lesson in one take.
Record the introduction, each major task, and the conclusion separately. This approach makes it easier to redo one section after a mistake without restarting the entire recording. It also gives you cleaner edit points later.
During recording, move the cursor deliberately. Pause briefly after opening a menu or changing a setting so viewers have time to see the result. Avoid moving the pointer in circles or clicking rapidly while you explain. A calm pace is usually clearer than a fast one.
Show, then explain when needed
For straightforward actions, viewers can often follow along as you demonstrate. For more complicated decisions, introduce the purpose first, show the action, and then confirm the result.
A reliable sequence is:
1. Explain what the next step accomplishes.
2. Show the action on screen.
3. Pause on the result.
4. Clarify how the viewer can verify success.
If the workflow includes a common error, demonstrate it only when it helps the learner avoid a real point of confusion. Keep troubleshooting separate from the main path when possible, such as in a brief final section or a follow-up tutorial.
Edit for clarity, not just polish
Editing is where you remove friction from the learning experience. Cut long waits, accidental clicks, repeated explanations, and unrelated screen activity. Keep enough natural pacing for viewers to understand each action.
Use visual emphasis sparingly. A cursor highlight, zoom, callout, or brief label can be helpful when a control is small or easy to miss. Too many animations or callouts can compete with the instruction.
Review the edit with these questions in mind:
- Can a first-time viewer identify the starting point?
- Does each step lead naturally to the next one?
- Is any important text too small to read?
- Are there pauses where the viewer needs time to act?
- Does the tutorial show a clear finished result?
If the answer to any question is no, revise the affected section before adding final audio or captions.
Add narration after the visual sequence is stable
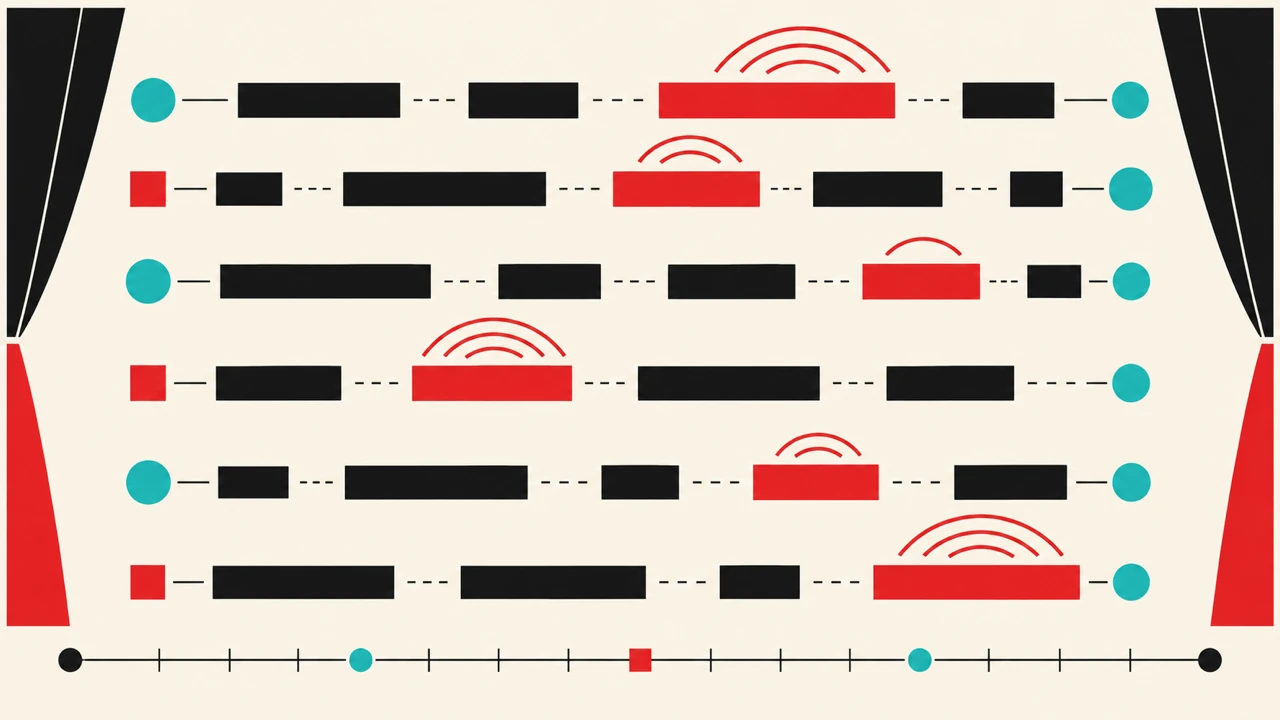
Narration should reinforce the demonstration, not repeat every visible action. Once the screen recording and edit are stable, record your voiceover or create narration from the approved script.
If you use text-to-speech narration, review the generated audio carefully in context with the screen recording. Check pronunciation of product names, acronyms, technical terms, and names that may need a different spoken form. Adjust the script when a sentence sounds too long, unclear, or unnatural at the selected pace.
Typecast can be considered at this stage if its current voice options and workflow fit your production needs. For example, you can explore virtual assistant AI voices as part of your narration evaluation. Verify the available settings, licensing considerations, and output options in the product before building them into a production process.
Whether you use a recorded human voice or text-to-speech, aim for an even pace, clear pronunciation, and a tone that matches the audience. A beginner-focused tutorial may benefit from slower delivery and more reassurance, while an internal tutorial for experienced teammates may be more concise.
Include accurate captions and supporting text
Captions make tutorials easier to follow in quiet environments, noisy settings, and situations where viewers prefer to watch without sound. They can also help viewers scan terminology while they learn.
Generate or create captions from the final narration, then review them. Automatic captions can mishear technical language, names, numbers, and acronyms. Correct timing so the text appears when the relevant action is shown.
Use on-screen text only for information viewers need to retain, such as a keyboard shortcut, required field name, warning, or final result. Avoid displaying the full narration word for word if captions already provide it.
If the tutorial includes links, files, or prerequisites, provide them in the surrounding page copy or video description where viewers can access them without pausing to transcribe a URL from the screen.
Test the tutorial with a realistic viewer task
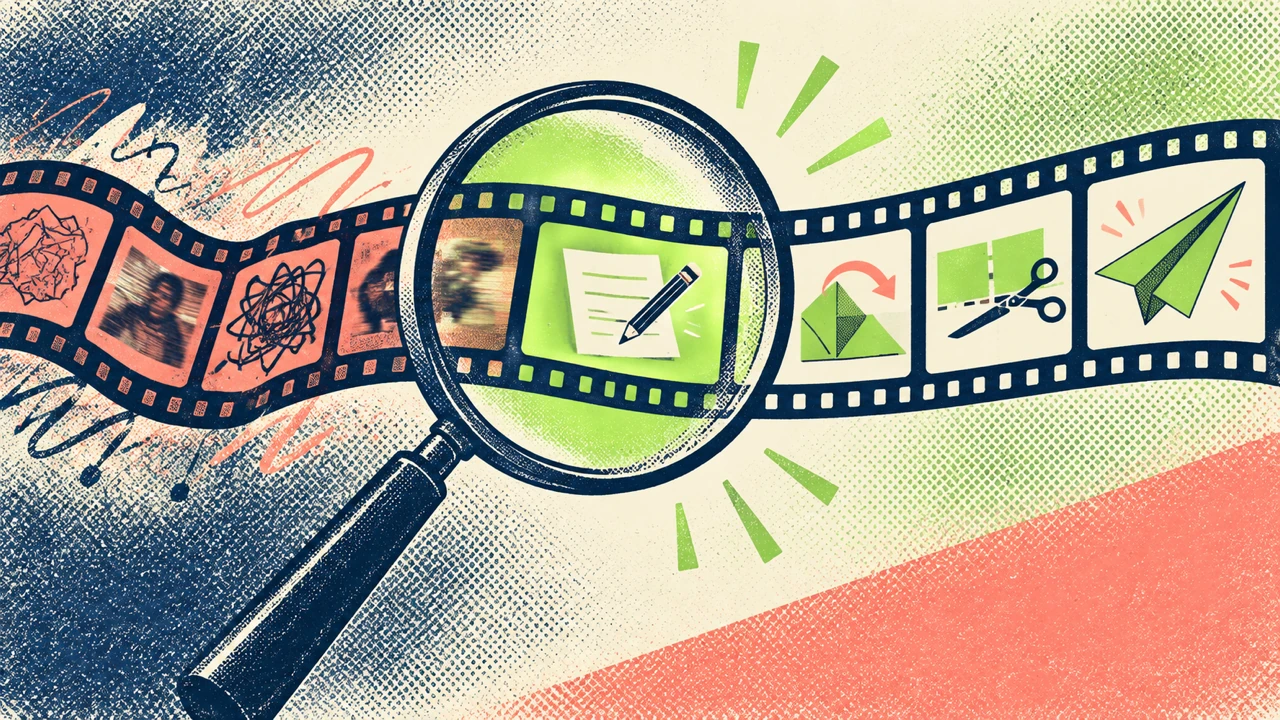
Before publishing, watch the video as if you are new to the process. Better yet, ask someone familiar with the intended audience to follow the tutorial and complete the task.
Do not ask only whether they liked the video. Ask whether they completed the goal, where they paused, what terms were unclear, and whether any screen detail was hard to see. Their feedback can reveal gaps that are easy to miss when you already know the workflow.
Make final adjustments to the script, recording, captions, or pacing based on the points that affect task completion most.
A practical tutorial video checklist
Before publishing, confirm that your tutorial has:
- One clearly stated learner outcome
- A focused sequence of steps
- A clean, readable screen recording
- Narration that adds useful context
- Captions reviewed for accuracy
- Visual emphasis only where it supports understanding
- A visible final result or success check
- A clear next step for the viewer
The strongest tutorial videos are not necessarily the most elaborate. They respect the viewer’s time, show the right details at the right moment, and make the path from question to completed task easy to understand.