


When it comes to video editing, the iPhone is a powerful device. This blog post will discuss how to edit videos on the iPhone. In addition, we will cover how to shorten and crop a video. So, whether you are a teen looking for ways to make your videos more exciting or a parent looking for ways to trim down long videos of your kids’ soccer games, we have you covered!
How to Edit Videos on iPhone
There are two ways to edit videos from your iPhone. The first is to use the built-in Photos app and iMovie app for other Apple devices. The Photos app is an excellent method for trimming videos and cropping them. Open the Photos app and select the video you want to edit.
Once the video is open, tap on “Edit” in the upper right-hand corner. You can trim the video, rotate it, clip its length, apply effects, change the color balance, and more.
How to Shorten a Video on iPhone
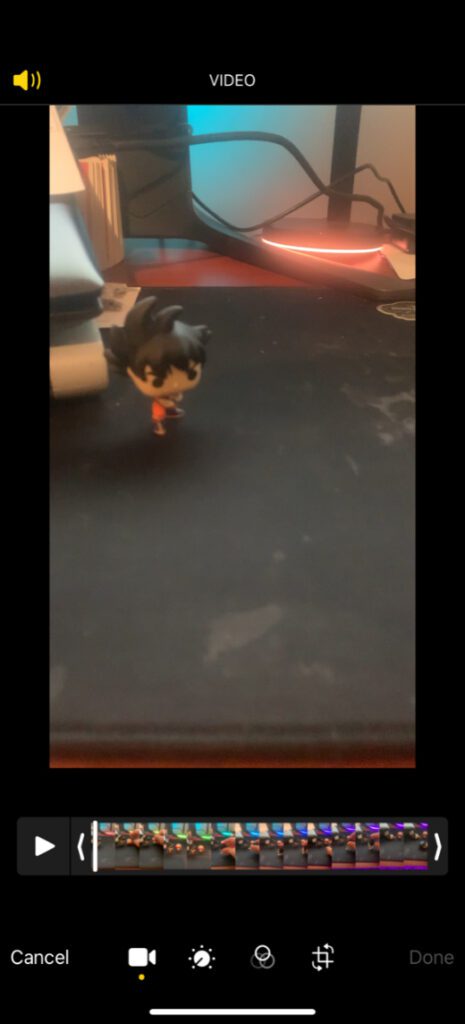
Typically, Apple devices called “shortening” a video Trimming. Trimming a video on your iPhone requires minimal effort. As stated earlier, open the Photos app, and select the video you want to edit. Next, tap “Edit” in the upper right-hand corner of the screen.

Fortunately, the trim menu is the first to be displayed; look for the white handles on either side of the video timeline. To shorten the video, grab the handles and slide them inwards. The further you move the handle, the more you cut out the video.
How to Crop a Video on iPhone
Cropping a video on iPhone is easy. Open the Photos app and select the video you want to edit. Next, tap on “Edit” in the upper right-hand corner. This time, select the “Crop” option from the menu.
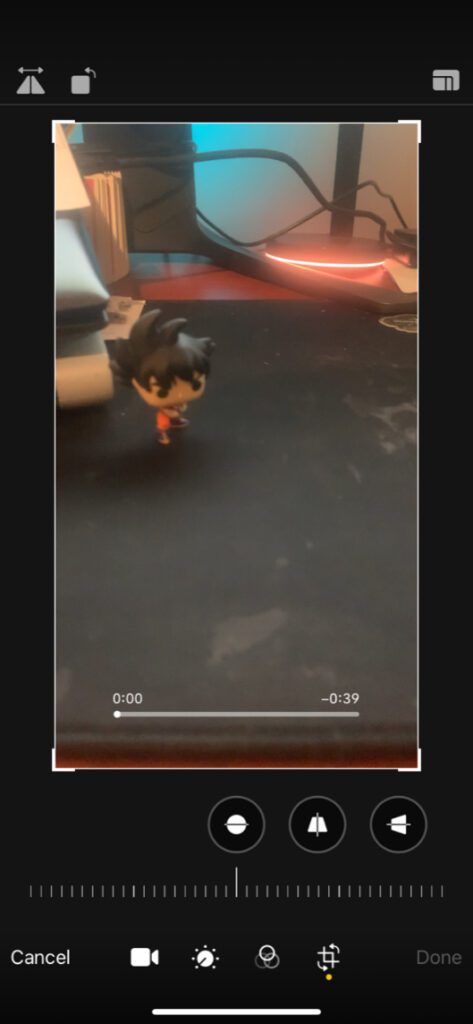
The crop features look like a square cropping icon that will allow users to rotate, skew, or crop out parts of the video that aren’t necessary. This option is great for fixing a video you filmed in the wrong direction.
How to Slow Down Video on the iPhone
Newer iPhones can shoot videos using the Slo-Mo camera mode. This feature films videos at a high frame rate, which users can play back in slow motion. To slow down video, open the Photos app and select the video you want to edit.
Next, tap the “Edit” button in the upper right-hand corner, and you’ll see a similar option to shortening a video.
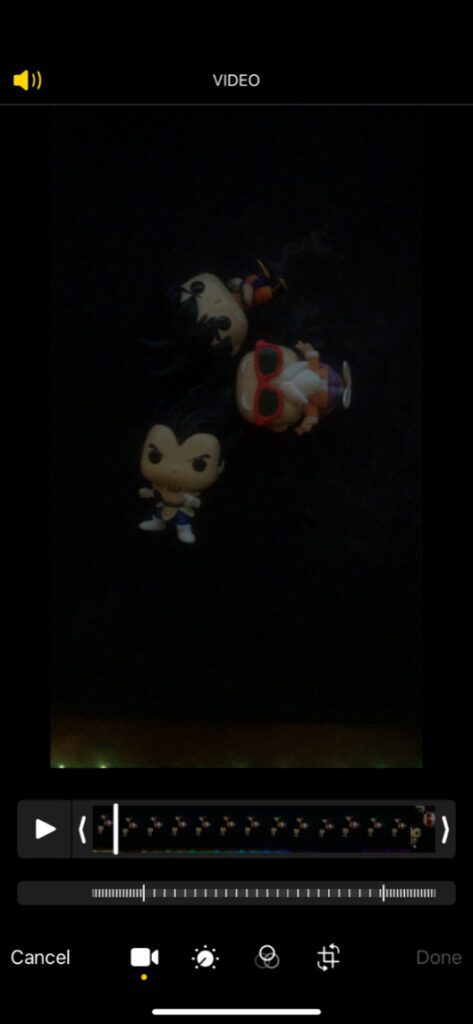
You may also use the slow-motion function to select which parts of your film and play them at a slower speed. That means you can have your video run at an average rate while slowing down for the elements you don’t want people to miss. On the video timeline, use the vertical white lines to set when the slow-motion begins and ends.
There you have it; you’re now a professional iPhone video editor! With these simple tips, you can easily edit videos on your iPhone. Remember to have fun and experiment with the different editing options at your disposal.
How to Edit Videos on iPhone Using the iMovie App
The iMovie app is a more comprehensive video editing tool and allows you to access more video editing choices. Once you download it, you can use iMovie to combine several videos and photos into a single film and all the above features.
You may apply a variety of transitions (such as dissolves, slides, and wipes) between these clips. iMovie also allows you to add music, sound effects, and voice recordings to your video. In addition, you may use the iMovie app to edit 4k video, if you initially recorded one of the clips in your project in one of those formats.
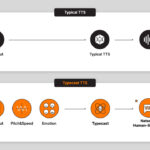
Typecast Can Create Voice Recordings For Your iPhone Videos
If you’re looking to add a voice recording to your iPhone video and don’t want to do it yourself, Typecast can help. Typecast is a text-to-speech service that can transcribe your content and turn it into a natural and professional recording.
You can then copy and paste the recording into your iMovie project or use it as the audio for your iPhone video. With the plethora of voice avatars in the Typecast software, you’re sure to find one that fits your project perfectly.