





YouTube multi-language audio lets viewers choose from multiple spoken-language tracks on one video instead of searching for separate uploads. For creators, it can be a practical way to make a video accessible to audiences who speak different languages while keeping views, comments, and watch history centered on the original upload.
This guide shows you how to add multiple audio tracks on YouTube for different spoken languages. You’ll check feature access, prepare translated audio files, upload each language track, and review playback. These are selectable language versions, not background-music layers mixed into the video. The workflow also differs from YouTube’s automatic dubbing.
What are YouTube multi-language audio tracks?
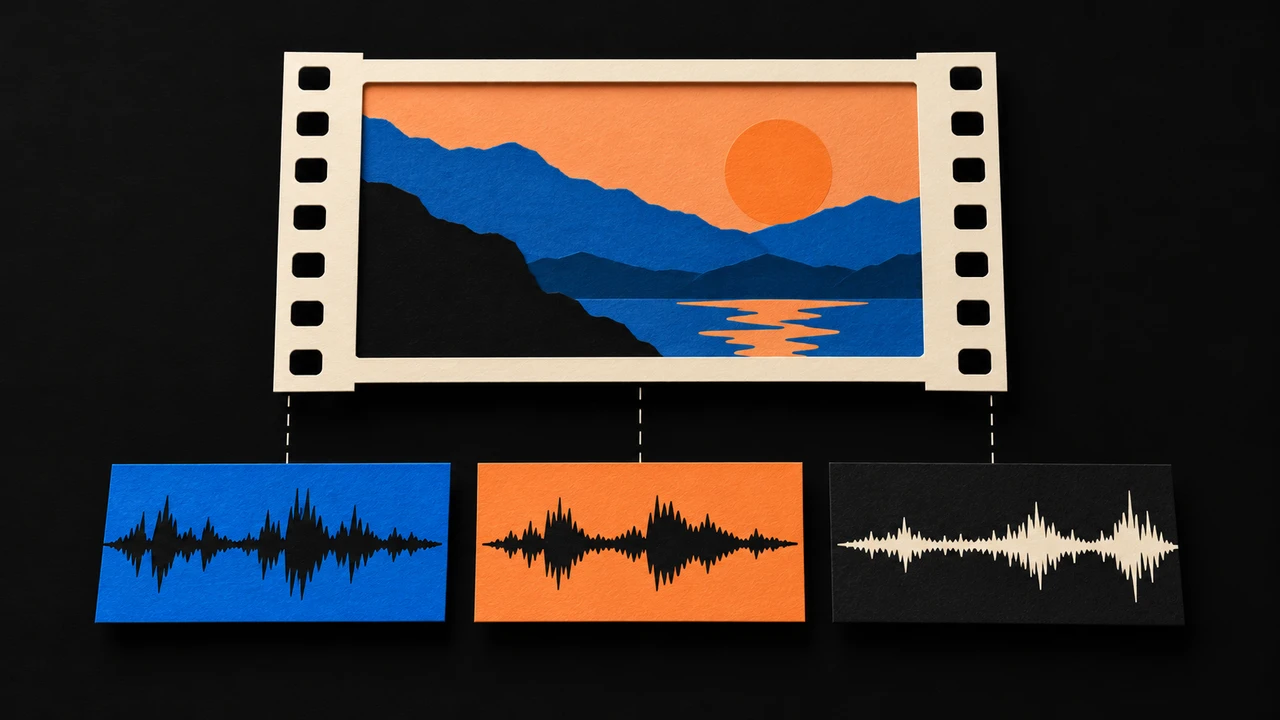
Multi-language audio is a YouTube feature that lets eligible creators add additional audio tracks to an existing video. A viewer can then select an available track from the video player’s audio settings.
The feature is designed for pre-recorded language tracks. In other words, you prepare the translated voiceover outside YouTube, export it as an audio file, and upload it to the relevant video. According to YouTube’s guidance on multi-language audio, creators need access to the feature in YouTube Studio and must upload a pre-recorded audio file for each additional language.
This approach differs from creating separate language-specific videos. Rather than splitting viewers across several uploads, one video can serve multiple listening preferences.
Manual audio tracks vs. automatic dubbing
It is important to choose the workflow that matches your production process.
Manual multi-language audio
Manual uploads give you control over the translated script, speaker performance, timing, and final audio file. This can be useful when you need to use an approved translation, preserve brand terminology, or review pronunciation before publishing.
With a manual workflow, you are responsible for creating and quality-checking each language track before uploading it to YouTube.
Automatic dubbing
Automatic dubbing is a separate YouTube feature that can generate dubbed audio for eligible videos and languages. Its availability, supported languages, and controls are governed separately from the manual upload feature. Review YouTube’s automatic dubbing documentation before planning a workflow around automatically generated tracks.
If YouTube has already created an automatic dub for the same language you want to upload yourself, YouTube says that automatic dub must be removed before you can add your own track for that language. YouTube’s manual upload instructions outline this limitation.
Check whether your channel can add audio tracks
Before recording translations, confirm that multi-language audio is available in your YouTube Studio account. YouTube’s current help page lists access to Advanced features as the eligibility requirement. On desktop, open Languages in YouTube Studio and select the video to check its available controls.
A practical pre-production checklist includes:
- Confirm that your channel has access to multi-language audio.
- Identify the video that will receive additional tracks.
- Decide which audience languages to prioritize.
- Confirm that you can supply completed, pre-recorded audio for each language.
- Check whether an automatic dub already exists for any language you plan to upload manually.
- Make sure the translated script matches the final edit of the video.
Do this check early. It is easier to adjust a localization plan before recording voiceovers than after a full set of tracks has been produced.
Prepare each language track
A strong audio track should do more than translate individual words. It should communicate the same meaning at a pace that works with the visuals, on-screen text, cuts, and demonstrations in the original video.
Start with a finalized source script
Use the final narration or dialogue transcript, not an early draft. If the original video has changed since the script was written, update the transcript first. A translated track based on outdated wording can drift away from what viewers see on screen.
Mark sections that require extra attention, such as:
- Product names and branded terms
- Measurements, dates, and currencies
- Calls to action
- Names, locations, and industry terminology
- On-screen instructions viewers need to follow
Adapt the script for spoken delivery
Direct translation does not always sound natural when read aloud. Give translators, editors, or voice talent enough context to adapt phrasing for the target audience while preserving the video’s intent.
For example, a short English phrase may need more time in another language. If the translated line runs longer than the original scene, consider shortening the phrasing, changing pauses, or adjusting the delivery speed. Avoid forcing narration to fit so tightly that it becomes difficult to understand.
Record and review the voiceover
Record a clean language track that is synchronized as closely as possible to the source video. Listen for volume changes, clipped words, long gaps, and sections where the narration no longer matches the visuals.
If you are producing narration from a script, you can create a text-to-speech voiceover before exporting a final audio file for review. Regardless of how the track is produced, assign someone fluent in the target language to check the script and the finished recording.
Export a clearly labeled file
Use a consistent naming convention so files are easy to identify during upload and future revisions. For example:
- video-topic_es-MX_v1
- video-topic_fr-FR_v1
- video-topic_ko-KR_v1
Include the language or locale and version number. If the original video is updated later, this makes it easier to determine which tracks also need revision.
How to add multiple audio tracks in YouTube Studio

Once your files are ready, use YouTube Studio to attach each language track to the existing video.
1. Sign in to YouTube Studio.
2. From the left menu, select Languages, then choose the video.
3. Click Add Language and choose the target language.
4. Next to Dub, click Add.
5. Click Select file and choose the prepared audio-only file.
6. Check that the file uses a supported audio-only format and is roughly the same length as the video.
7. When the track is reviewed and ready, click Publish. Repeat for other languages.
The specific labels in YouTube Studio may change over time, so use YouTube’s current multi-language audio instructions as the source of truth while completing the upload.
After you add a track, give YouTube time to process it before judging the result. Then open the video as a viewer and verify that the new language appears in the audio selection controls.
Test every track before promoting the video
Publishing is not the end of the workflow. Review each track from the audience perspective.
Use this quality-control checklist:
- Select each available audio language in the video player.
- Confirm that the correct track plays for the selected language.
- Listen for synchronization issues at scene changes and visual demonstrations.
- Check names, numbers, URLs, and calls to action.
- Review the audio on headphones and speakers.
- Confirm that the translated narration does not contradict on-screen text.
- Check whether the original track remains available.
If a track has a major timing or language issue, correct the source file and replace it rather than asking viewers to work around an error.
Choose languages based on your audience
Adding tracks for every possible language can create unnecessary production work. Start with languages that are relevant to your audience, content strategy, and ability to maintain quality.
Look at your channel analytics, customer research, comments, and geographic audience patterns. You might begin with one or two languages, establish a repeatable process, then expand when you can consistently translate, review, and update each version.
Also account for future maintenance. A tutorial that changes often may require new recordings in every supported language. Evergreen videos may be better candidates for a larger initial localization investment.
Build multi-language audio into your YouTube workflow

The easiest way to manage multiple audio tracks is to plan for them before the original video is published. Keep the final script, project files, visual references, and terminology notes organized in one place. That gives translators and voiceover reviewers the context they need without reconstructing the video from scratch.
A repeatable workflow can look like this:
1. Finalize the original video and transcript.
2. Select priority languages based on audience need.
3. Translate and adapt the script for spoken delivery.
4. Produce and review each voiceover.
5. Export labeled audio files.
6. Confirm feature access in YouTube Studio.
7. Upload tracks and test them in the player.
8. Document versions so future video updates are easier to manage.
Multi-language audio is one part of a broader channel strategy. If you are still building your publishing process, this guide on how to start a YouTube channel can help you establish the fundamentals first.
Final takeaway
YouTube multi-language audio can help creators serve viewers in more than one language without publishing duplicate videos. The manual workflow depends on channel eligibility, pre-recorded audio files, careful language selection, and quality checks after upload.
Start with a small number of high-priority languages, make sure each track is accurate and synchronized, and use YouTube Studio’s current guidance when you are ready to publish. A deliberate workflow will make it easier to maintain language tracks as your channel and video library grow.