


From vlogs to reels, people consume video content on various media platforms on a daily basis. But did you know that each of those platforms require a specific file format for upload? Although most social media platforms usually recommend .MOV or .MP4 formats, LinkedIn or YouTube also allows .AVI and .MPEG4 and more.
So what if you would like to upload the same .AVI video you posted on YouTube onto Instagram? Or if you are looking for a video to GIF converter for your Instagram post, you have to use a video encoder like Adobe Media Encoder to convert file format.
Adobe Media Encoder is a media processing application that allows users to encode and convert files into a variety of formats. It can be used with other Adobe programs such as After Effects, Premiere Pro, Audition, Character Animator and others.
Benefits of using Adobe Media Encoder
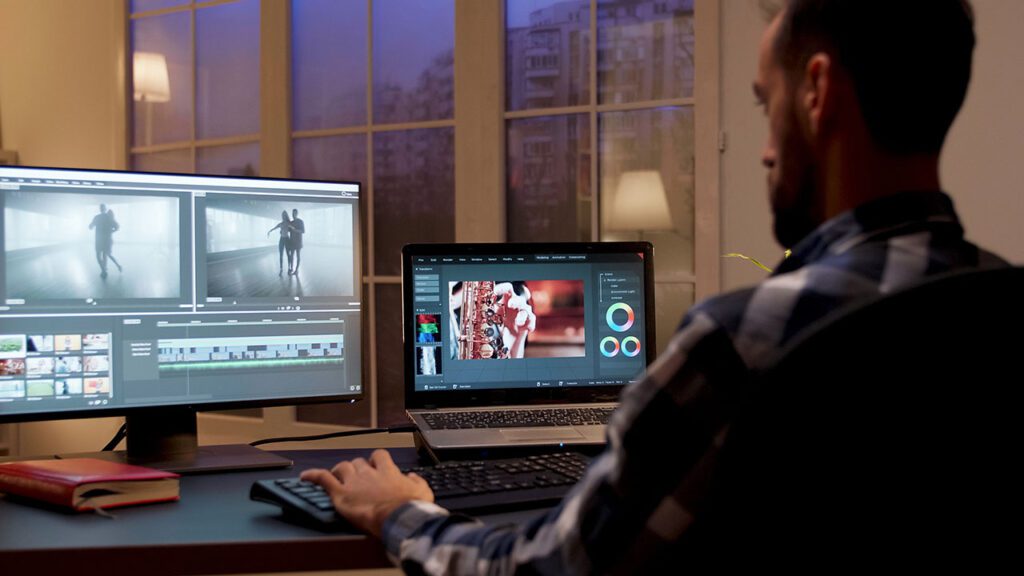
Many video editors could agree that there is nothing more frustrating than having to stare at the monitor waiting for the encoding process to finish. One of the pros of using Adobe Media Encoder is that the users can use Premiere Pro or After Effects while their project is being encoded. You can not only edit and export simultaneously but also queue multiple sequences.
While encoding multiple sequences simultaneously, you can view thumbnail preview, progress bar, and the estimated time left of each encoding output. In order to add sequences in the queue, drag and drop files into the queue or click on [Add Source].
If you decide not to encode any output in sequence, simply delete or reorder it by dragging to wherever in the sequence in case you change your mind later. After adding sequences in the queue, you can apply various presets.
Adobe Media Encoder also comes in handy when you want to compress media files. The detailed sizing options and scale video resolution Adobe Media Encoder offers allows users to save some extra space on their hard drive.
Editing sequences and compressing different file formats can both be found under Preset Browser and Export Settings. If you are editing a video for YouTube upload, click on [Preset Browser] and find the setting for YouTube. If there is a specific file format and resolution that you would like to encode your business videos, make sure to browse through Preset Browser or Export Settings and explore various presets offered by Adobe.
Stitching Clips on Adobe Media Encoder
Besides encoding, you can also combine clips together using Adobe Media Encoder.
- Select [File] then [Add Source]
- Choose files you would like to combine and click [Stitch clips together]
- Click [Open] to add the clip on to the queue
The name of the stitched file will be titled as the first clip you selected, however you can easily rename the file, if needed.
Add, Delete and Rearrange Stitched Clips

1. Add more sequences onto stitched clips
In order to add more assets to an existing stitched clip, you can simply drag and drop additional file to the list of sources. A blue line appears to indicate at which point of the stitched clip you would like to add the additional asset.
2. Delete existing sequence on stitched clip
If you want to delete a certain asset you stitched into a clip previously, click and hit [delete] button or press delete key on your keyboard.
3. Rearrange stitched clip
To rearrange, you can drag the clip into a new preferred position. Likewise with adding a new sequence onto the stitched clip, you will see a blue line appearing to indicate the position.
Sync it with other Adobe Products

After processing your video on other Adobe products, you can render it with Adobe Media Encoder and vice versa. For example, if you are using the After Effects app for your video project, click on [Choose File] > [Export] > [Add to Media Encoder Queue]. This will allow you to render resolution via Preset or Export settings.
Sources:
- https://helpx.adobe.com/media-encoder/using/overview-media-encoder-user-interface.html
- https://helpx.adobe.com/au/media-encoder/using/using-preset-browser.html
- https://helpx.adobe.com/media-encoder/how-to/adobe-media-encoder.html?playlist=/services/playlist.helpx/products:SG_MEDIAENCODER_PK/learn-path:get-started/set-header:ccx-designer/playlist:orientation/en_us.json&ref=helpx.adobe.com
- https://www.studiobinder.com/blog/what-is-adobe-media-encoder/#:~:text=Adobe%20Media%20Encoder%20is%20an,%2C%20Character%20Animator%2C%20and%20Prelude.