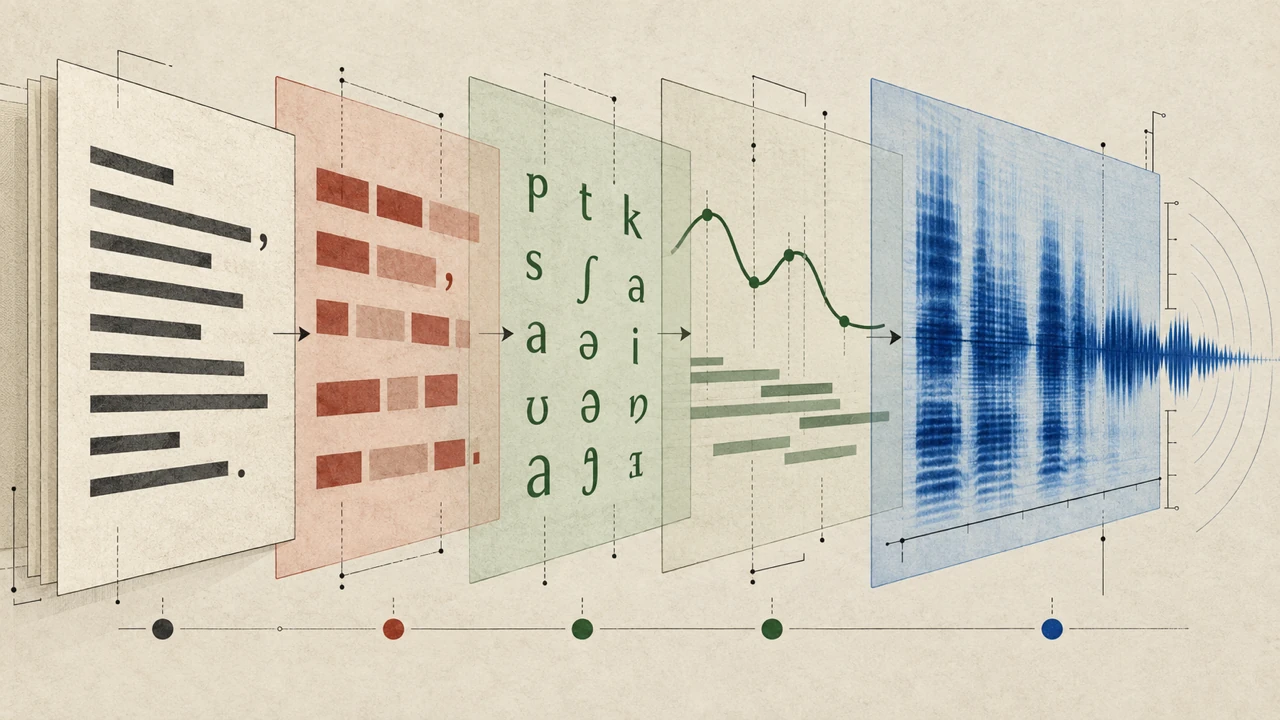




A voiceover can explain a tutorial, add context to a montage, or give a short-form video a more personal point of view. Learning how to do a voiceover on CapCut starts with a simple workflow: prepare your script, record or import audio, place it on the timeline, and refine the timing so the narration supports the visuals.
CapCut’s layout and menu labels can vary by device, app version, and region, but the core editing process is similar across versions. This guide focuses on the decisions that make a CapCut voiceover sound organized and fit naturally into a video.
Before you record: plan the narration
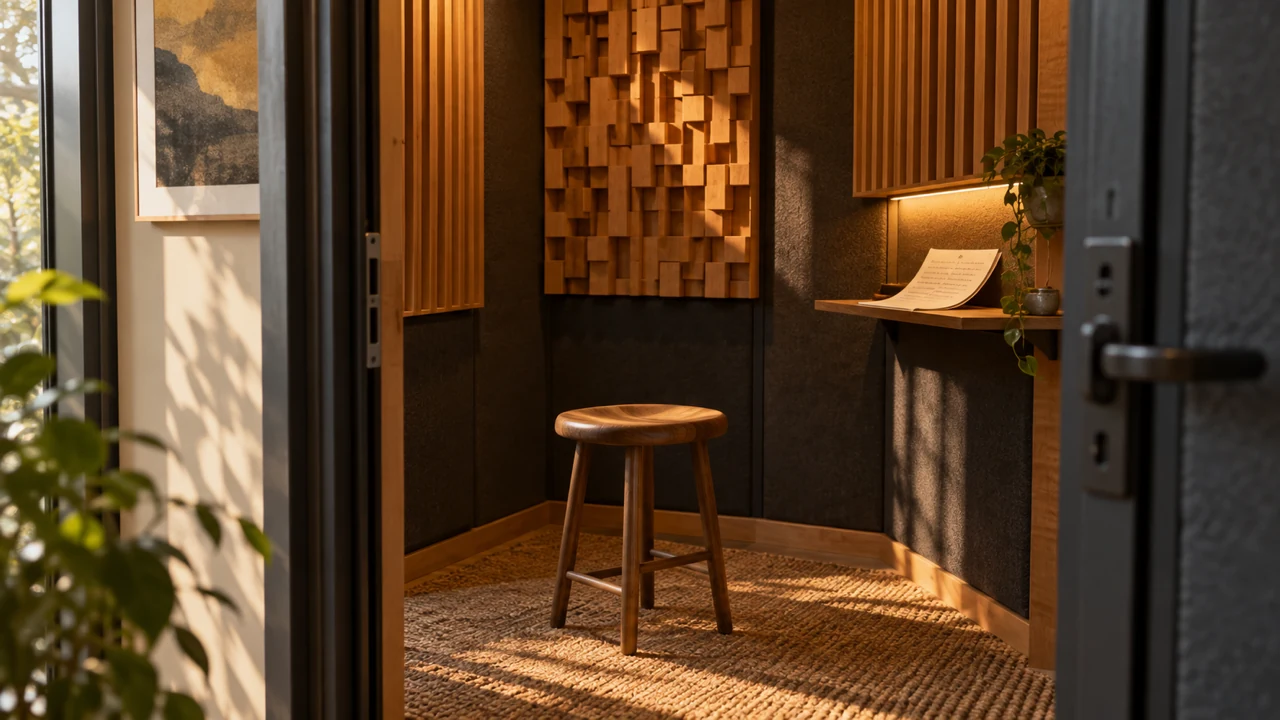
Recording before you have a complete script often creates extra editing work. A quick outline can help you avoid pauses, repeated phrases, and narration that no longer matches the footage.
Start by identifying what the voiceover needs to accomplish. For example, it may need to:
- Introduce the topic in the opening seconds
- Explain steps shown on screen
- Add commentary that the visuals do not communicate on their own
- Create transitions between clips
- End with a summary or call to action
Write in short, spoken sentences rather than formal written language. If a sentence feels difficult to say aloud, it will likely sound awkward in the final recording. Read the script once at a normal pace and mark places where a visual change, pause, or on-screen caption should occur.
It also helps to edit the video’s rough sequence before recording. You do not need every cut to be final, but knowing the approximate duration and order of clips makes it easier to create narration that matches the story.
Record a voiceover in CapCut
The exact controls may look different depending on whether you are using CapCut on mobile or desktop, but the process generally follows these steps.
1. Create or open a project
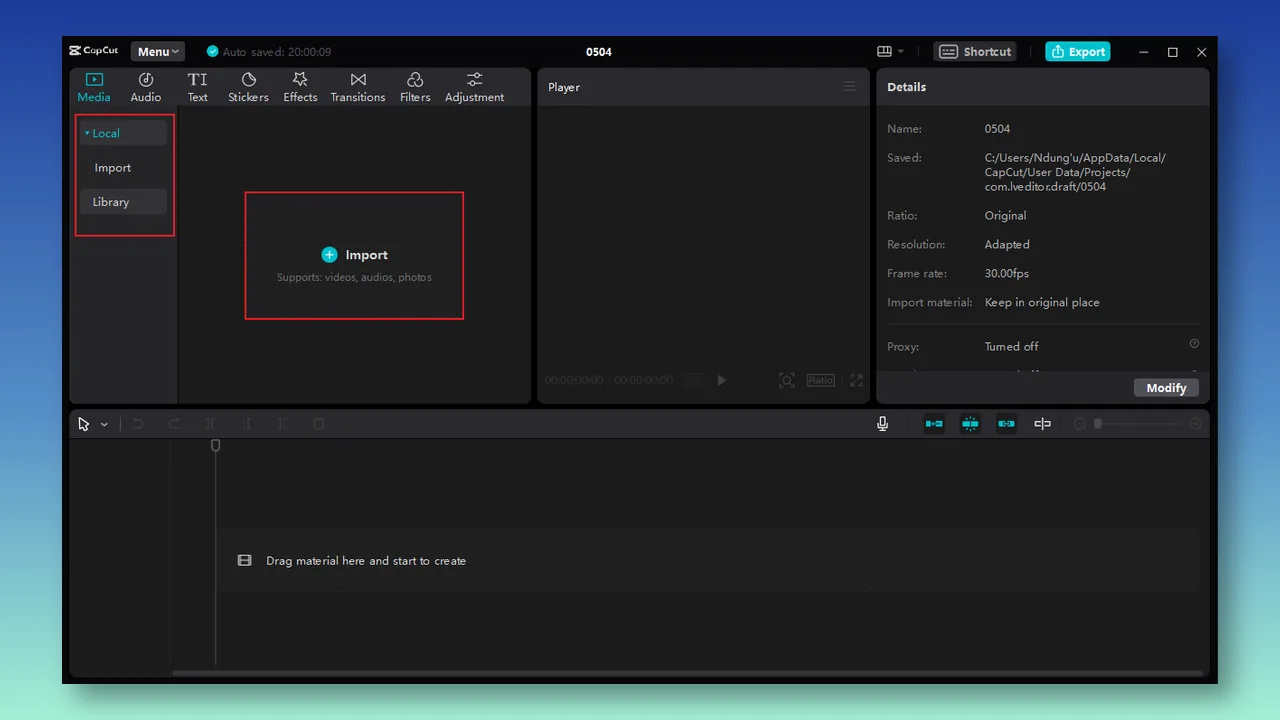
Open CapCut and start a new project, or select an existing one. Import the video clips, images, screen recordings, or other media you plan to use.
Arrange the main visuals on the timeline first. This gives you a reference point for deciding when each line of narration should begin and end.
2. Find the audio or voiceover controls
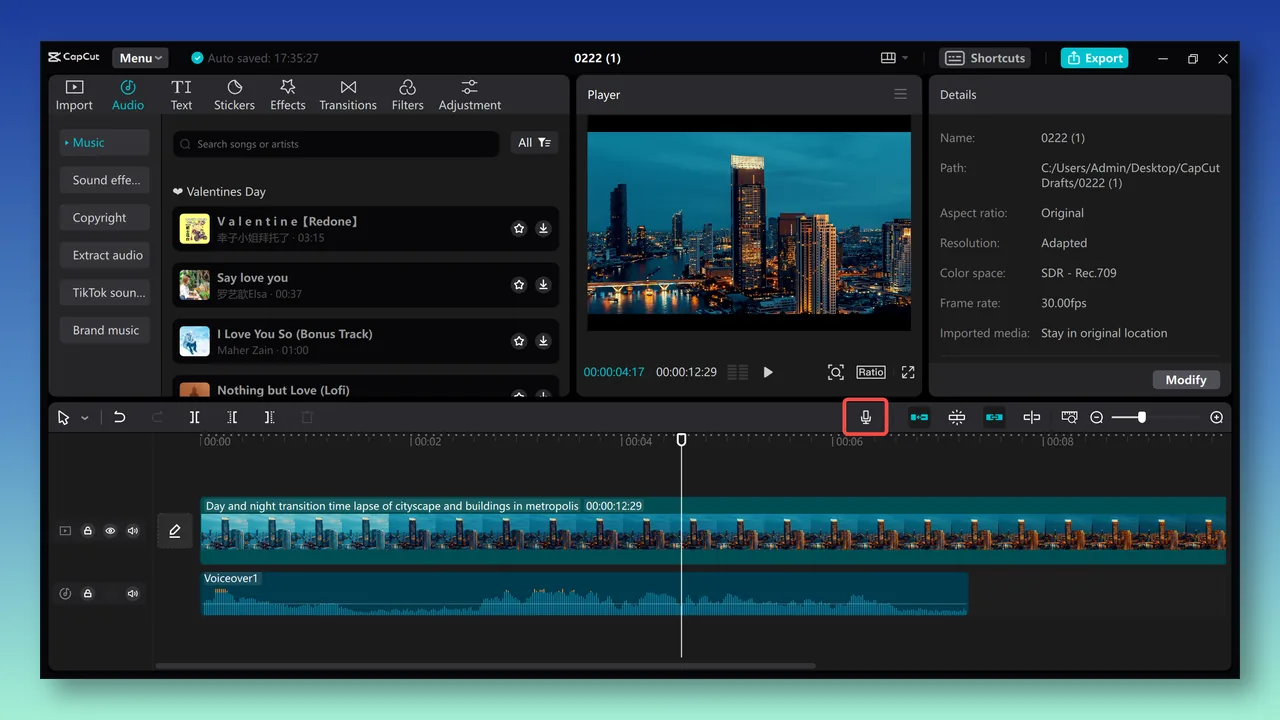
Look for the audio section in the editing workspace. Depending on the version of CapCut, you may see an option labeled for recording, voiceover, audio, or a similar function.
Move the playhead to the point where you want the narration to start. The playhead position matters because it determines where the recorded audio will be placed on the timeline.
3. Record your voiceover
Before recording, check that CapCut has permission to access your microphone. If the app cannot use the microphone, review the device’s privacy or app-permission settings.
When you are ready, begin recording and speak at a steady pace. Leave a brief pause before your first sentence and after your final sentence. Those extra seconds make it easier to trim the clip without cutting off a word or breath.
For a cleaner recording:
- Record in a quiet room when possible.
- Turn off nearby notifications and noisy appliances.
- Keep a consistent distance from the microphone.
- Speak slightly slower than you would in casual conversation.
- Record more than one take if the script is important.
Do not worry if the first take is not perfect. A useful CapCut narration is usually built through small edits rather than one uninterrupted recording.
4. Review the placement on the timeline
After recording, play the relevant section from a few seconds before the voiceover begins. Check whether the first line starts too early, too late, or on top of a distracting visual transition.
Drag the audio clip to reposition it if needed. You can also split the clip into sections to move a sentence independently, remove a mistake, or create space for a visual moment.
5. Trim mistakes and pauses
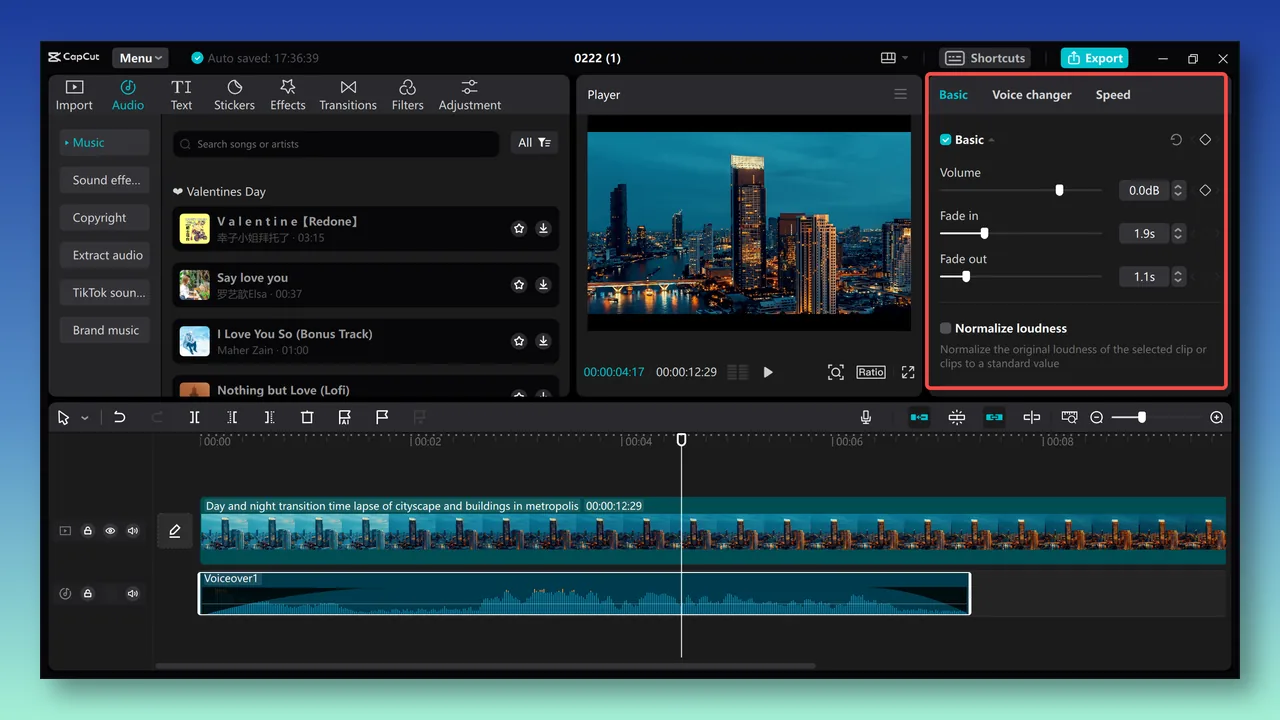
Use trimming or splitting tools to remove false starts, long silences, repeated words, and unnecessary breaths. Avoid over-editing every natural pause, though. A small amount of space can make narration feel more conversational and easier to follow.
Listen for abrupt cuts at the start and end of each edit. If an edit sounds unnatural, restore a fraction of the original pause or record that sentence again.
6. Balance voice and background audio
If your project includes music, sound effects, or original clip audio, lower those tracks enough that the narration remains easy to understand. The right balance depends on the recording, music style, listening device, and platform where you will publish.
Listen through headphones and through your device speaker if possible. Music that sounds subtle in headphones can compete with speech on a phone speaker.
A practical approach is to set the voiceover first, then bring background audio up gradually until it adds atmosphere without masking words. If there is dialogue in the original footage, consider muting or reducing it beneath the narration unless both voices are necessary to the scene.
7. Add captions and export
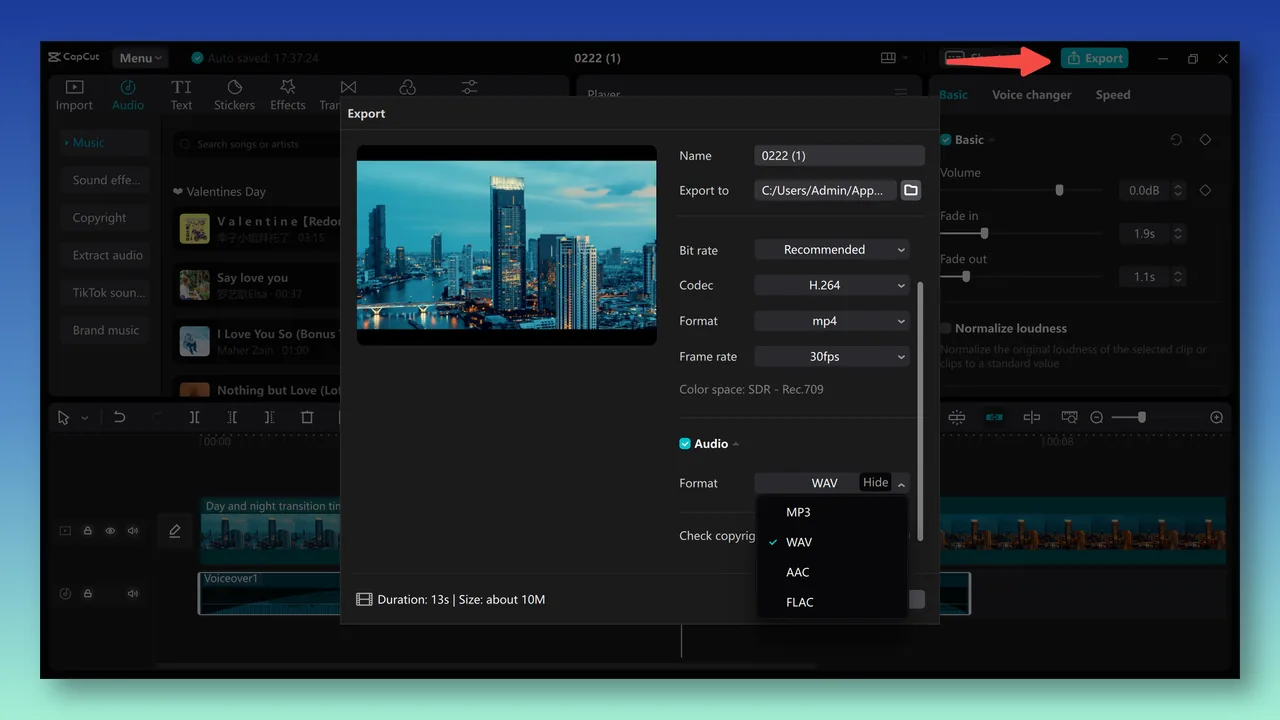
Captions can reinforce a voiceover, especially for viewers watching without sound or in a noisy environment. Review generated captions carefully if you use them, since names, product terms, and unusual phrasing may need correction.
Create an AI voiceover with text-to-speech for CapCut
If you prefer not to record your own voice, you can create the narration in Typecast first, then import the finished audio into CapCut. This is a separate workflow from recording directly in CapCut: Typecast creates the spoken track, and CapCut handles placement, timing, captions, and the final video export.
1. Start a new Typecast text-to-speech project
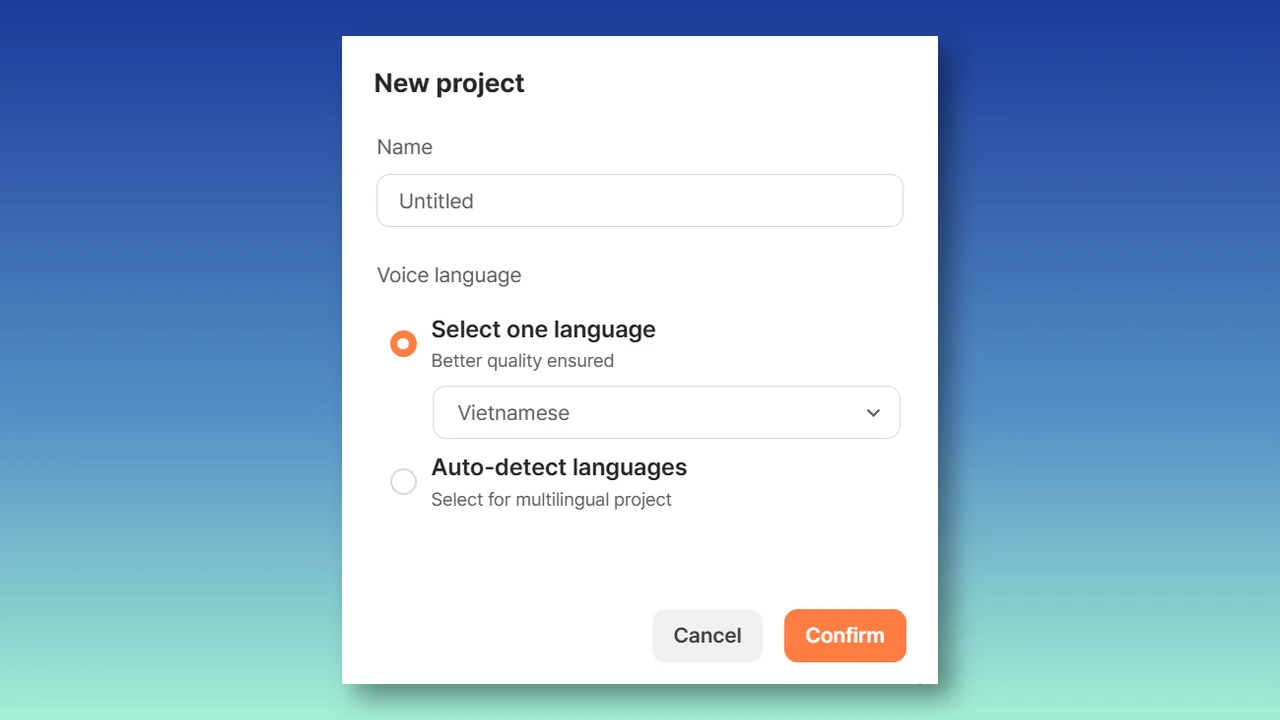
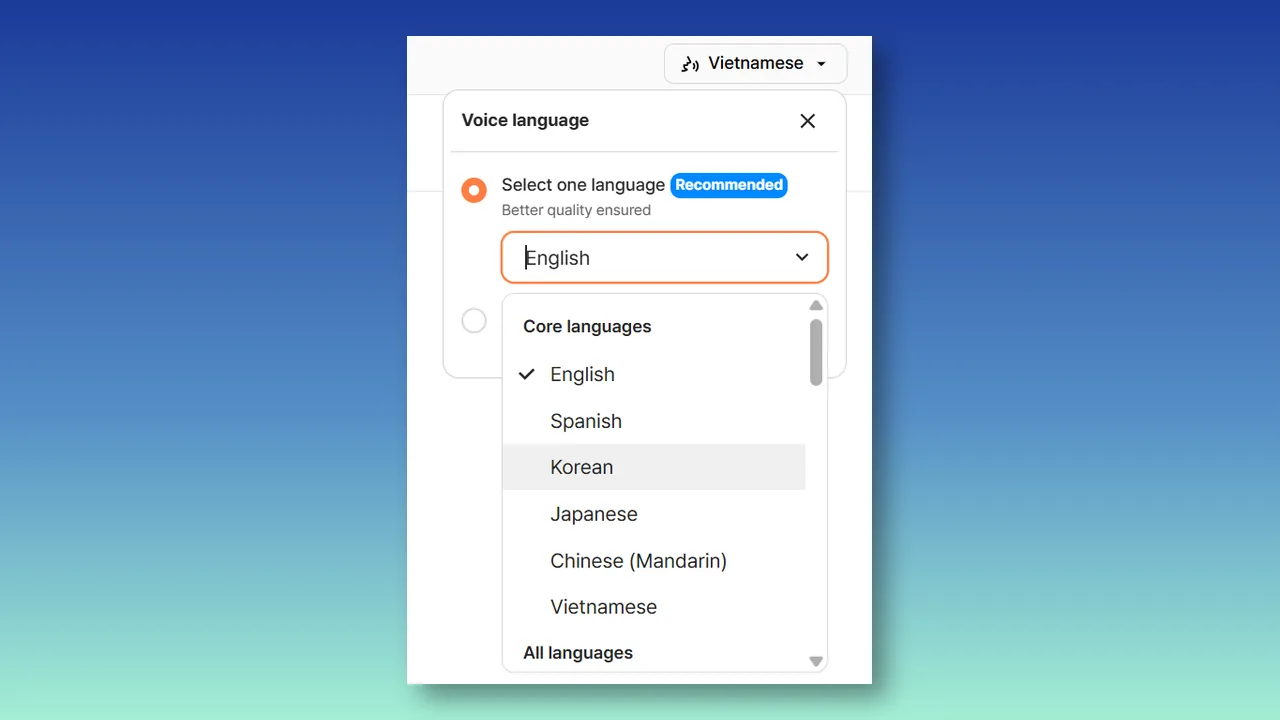
In Typecast’s AI Voice Editor, click New project, give the project a clear name, and set the Voice Language. For a one-language narration, choose that single language; use auto-detect only when the script genuinely needs multiple languages.
2. Add the script
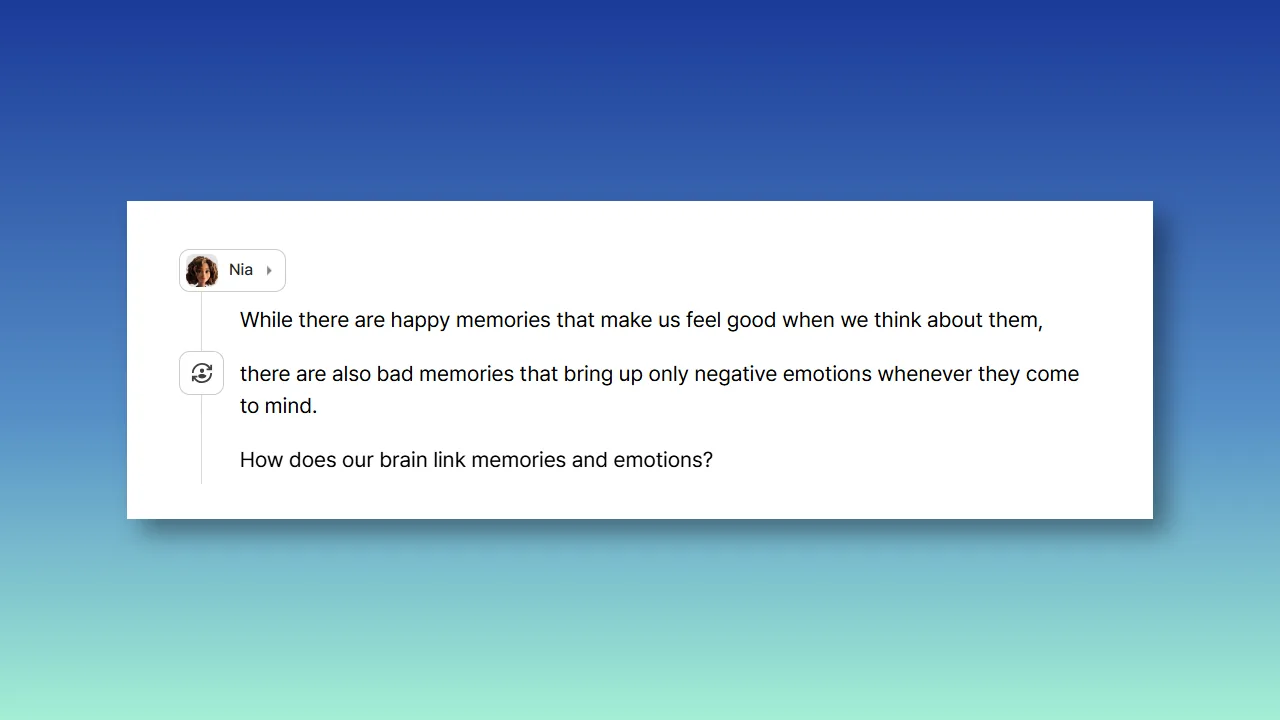
Type or paste the narration into the project. Keep it in short, editable sections so you can revise a line, re-time a sentence, or replace a take before you generate the audio for CapCut.
3. Choose a voice
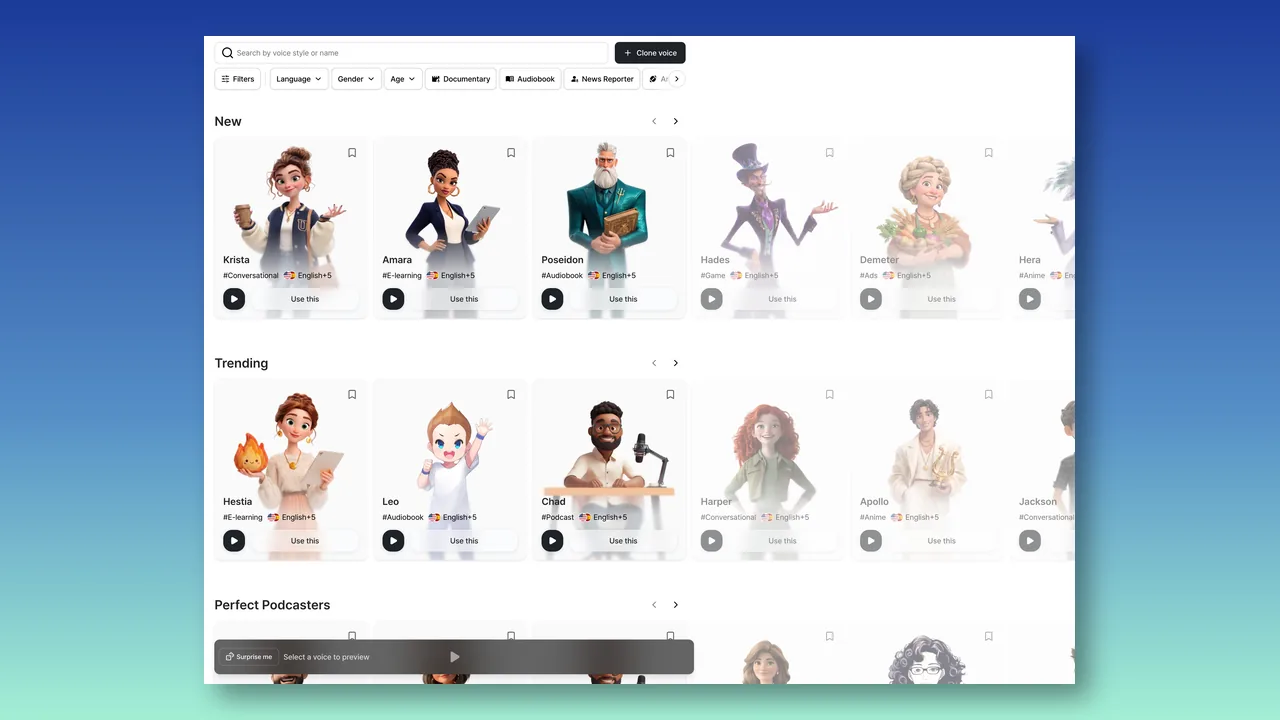
Browse the voice library and narrow the options with language, gender, age, or use-case filters. Preview a few voices, then select the one that fits the tone and audience of the video.
4. Confirm voice language and listen to a short test
Open Voice Language in the editor, choose the language that matches the script, and confirm the change. Listen to a short test before committing to a longer export, especially for names, numbers, acronyms, or product terms.
5. Download the audio and place it in CapCut
When the narration is ready, download the audio from Typecast. In CapCut, import the audio file through the media or audio import area, drag it onto an audio track, then use the timing, trimming, mixing, caption, and export steps above to finish the video.
When to use a pre-recorded voiceover
Typecast is one way to create a pre-recorded track, but you can also record in another app or work with narration supplied by someone else. In each case, export or save the finished file before bringing it into CapCut.
Once the file is in the project, place it on an audio track and use the same timing, trimming, mixing, caption, and export steps already covered above.
Imported audio can be useful when you want to:
- Record several takes before choosing the strongest version
- Edit spoken audio before adding it to the video
- Work with narration recorded by another person
- Create a consistent voiceover format across multiple videos
When text-to-speech is a better fit

Use the Typecast-to-CapCut steps above when a generated voiceover is the practical choice: you need quick line revisions, a consistent narrator across a series, or narration when recording your own voice is not practical.
The how-to above covers setup and import. Before you edit the final track in CapCut, focus on the quality pass: write for speech, use punctuation to guide pauses, spell out ambiguous numbers or abbreviations, and listen through the full narration before timing it to the visuals.
For creators planning short-form videos from a script, the an AI TikTok video creator can support a workflow that brings together video planning and AI-generated narration. If you are building content specifically for TikTok, the broader AI TikTok guide covers additional considerations for producing platform-ready videos.
Estimate the time and budget for your workflow
A voiceover workflow can take a few minutes for a short clip or substantially longer for a detailed tutorial. The main variables are the script length, number of retakes, recording environment, amount of audio cleanup, caption review, and how closely the narration must match specific visuals.
If you are comparing recorded narration with text-to-speech, consider more than the cost of a tool. Account for the time required to write the script, revise pronunciations, generate alternate takes, edit the timeline, and review the finished video. A free or low-cost option may still require more manual work, while a paid option may be worthwhile for a repeatable production process.
Pricing, plan limits, available voices, and included features can change. Rather than relying on an old quoted figure, review the current pricing and plan details directly from the provider you are considering before making a production decision.
Common CapCut voiceover problems and fixes
The narration is too quiet
Raise the voiceover track gradually, then reduce music or other competing audio. If the recording itself is very quiet, re-recording in a better environment may produce a more natural result than aggressively increasing the volume.
The voice sounds rushed
Shorten the script, extend the related visual, or record the line again at a slower pace. Trying to fit too many words into a short clip can make even a clear recording difficult to understand.
The timing does not match the video
Split the audio into smaller sections and align each sentence with the appropriate clip. It is often faster to make several targeted adjustments than to repeatedly move one long narration track.
The recording has background noise
First identify the source of the sound. Air conditioning, traffic, computer fans, and phone notifications can all be noticeable in a voiceover. If possible, make a new recording in a quieter location rather than relying entirely on post-production fixes.
The narration feels flat
Read the script again with a specific audience and purpose in mind. Vary your pace slightly, pause after key ideas, and emphasize the most important words. For text-to-speech, revise punctuation and sentence structure before generating another version.
Final checklist for a CapCut voiceover

Before publishing, confirm that:
- The narration begins at the intended point on the timeline.
- Speech remains understandable over music and sound effects.
- Each line supports the visual currently on screen.
- Mistakes, false starts, and distracting pauses are trimmed.
- Captions, if used, match the final narration.
- You have listened to the exported video on a phone speaker or similar playback device.
A well-edited CapCut voiceover does not need to sound overly polished or theatrical. It needs to be clear, appropriately timed, and useful to the viewer. Start with a focused script, make room for a few retakes, and use the timeline to shape the narration around the video rather than treating audio as an afterthought.